Hi Everyone and Happy Thanksgiving Weekend!

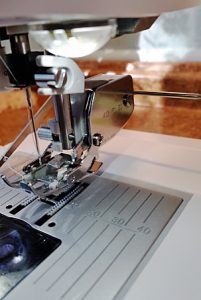
Using the walking foot, means taking off the shank that supports the regular feet and inserting the walking foot unit and the backwards “C” clamp to the screw that holds the needle. Also, the bar inserted behind this walking foot holds down the fabric while the walking foot moves over the fabric as it sews.
Perhaps you have had the challenge of trying to sew stretch and non-stretch fabric together? I used to agonize over the idea when I can get two pieces of fabric, one a stretch bamboo and the other quilting cotton, and cut them perfectly the same measurements with my acrylic ruler, and rotary blade cutter, and pin them together matching all sides. When I put them in my machine, it always turns out, the stretch fabric is larger than the non-stretch when I have completed the seam. So, to resolve that, I have to measure the seam line with my ruler, and trim the stretch fabric to 1/4 inch seam line that matches the quilting cotton.
Just keep trimming
I have found that trimming that seam on the inside as perfectly even as possible results in great guide to top-stitch the outside after it has been turned. I also round off the corners rather than cut them straight before turning to the right side of the fabric.

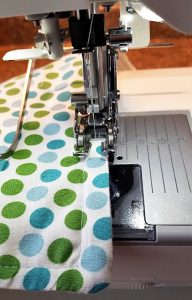
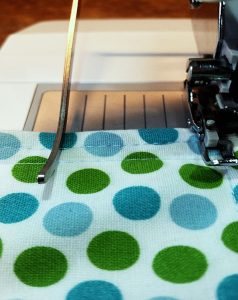
I have sewn the first top-stitch row just using a Type A foot. The row (in progress) close to the edge is done with my walking foot. Using this, if I watch the edge of the sides, as they line up when stitched, my top-stitching turns nice and straight. SLOW AND EASY STITCHING! The bar on the left that stabilizes the fabric is adjustable as well.
Many of my projects are top-stitched either with a decorative stitch which is overcast or something that blends with the fabric design. Now with embroidery machines so popular, I seldom see people utilizing the great automatic stitches like those on my Husqvarna Viking 670. With 200 stitches available, one’s creativity can soar! Why not take advantage of it?
Top-notch-stitching
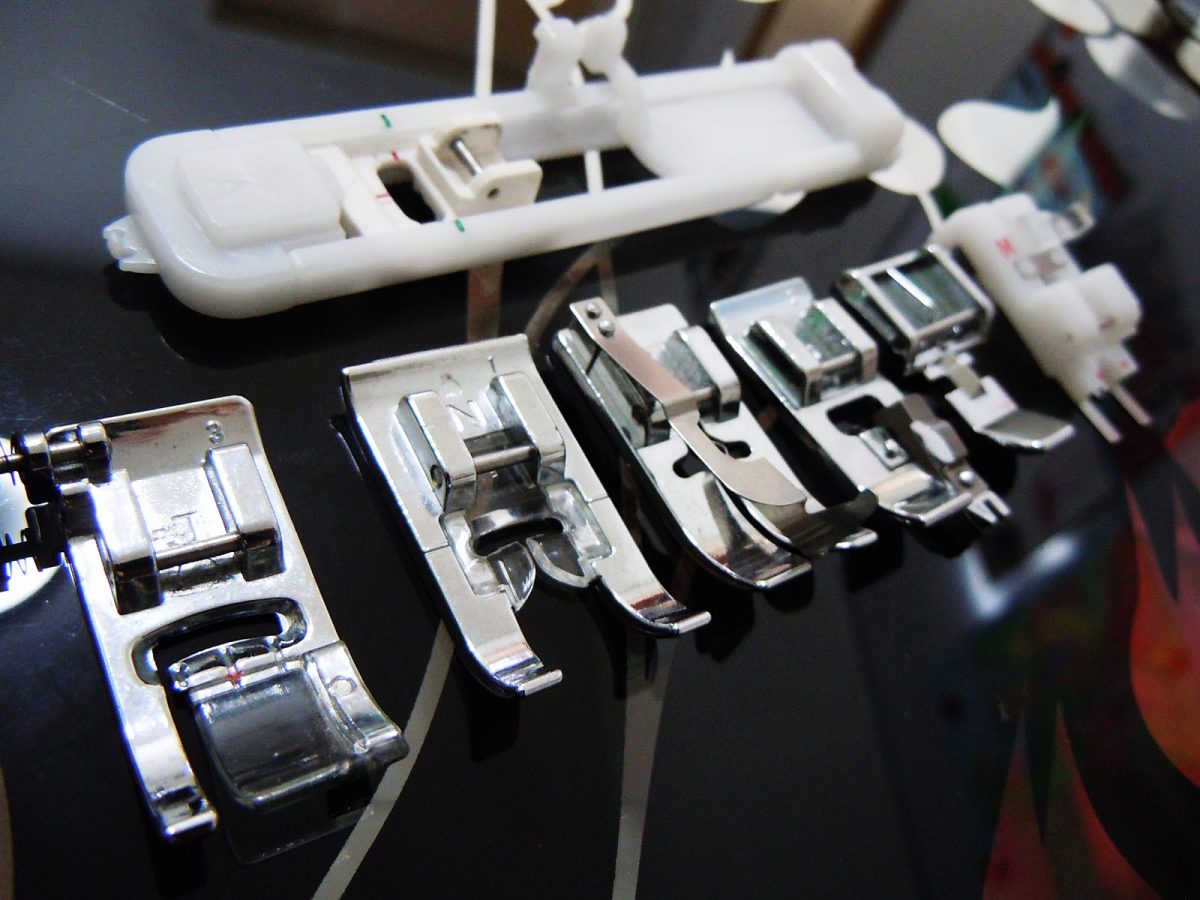
Top-stitching is tricky! To be perfect, it takes a consistent eye to guide the machine in the same place all the way around the project usually very close to the edge. Possibly, an edging foot for quilting may work well for ¼ inch spacing, (although I have not tried that). I most often use that foot to piece guilts. What I have found that does a great job is a walking foot. I use it to sew seams with the different stretch and non-stretch fabric. Again, I trim the seam before turning to the right side.

I also like to make wider stitches for top-stitching using a beautiful premium thread. My favorite is Cotton Mako Auriful, an Egyptian cotton made in Italy. It makes top-stitching look very professional.
So, I hope you enjoyed learning about the “Walking Foot” today. I enjoy knowing that my products have the professional finishes that make handmade sewing equal to expensive alternatives. I would be happy to hear your comments or things you have discovered on your walk of sewing and fabrics!

