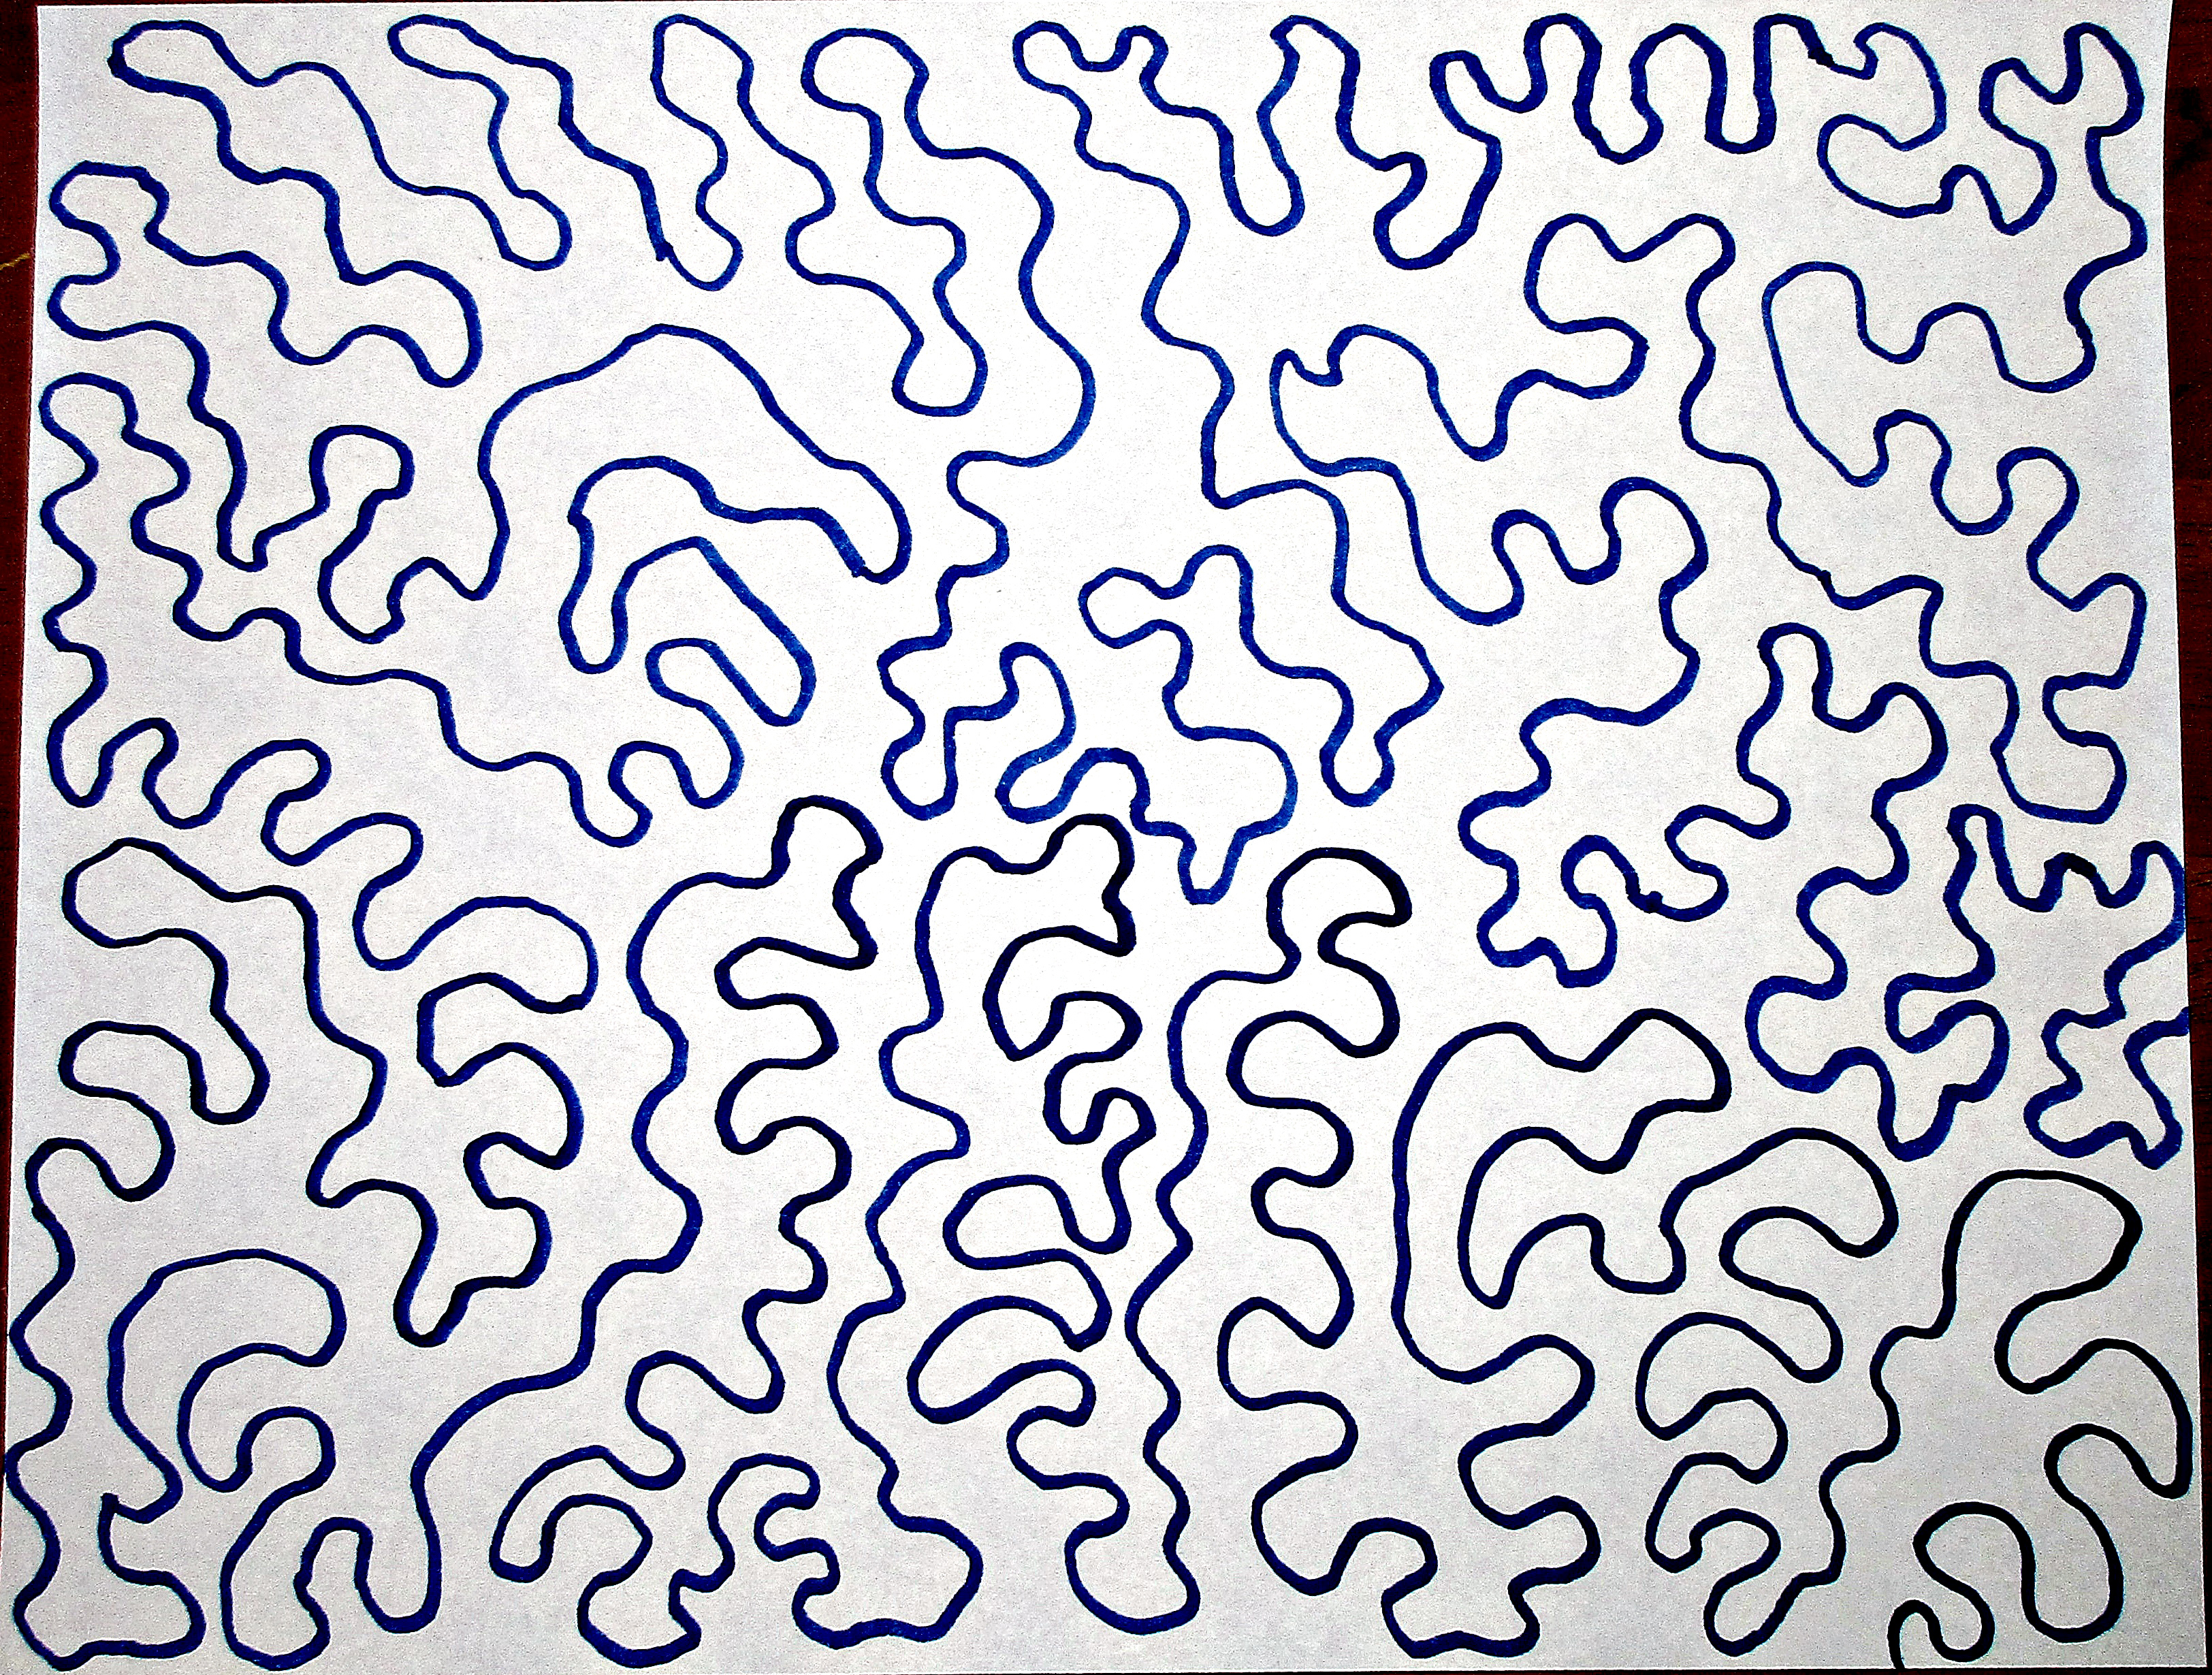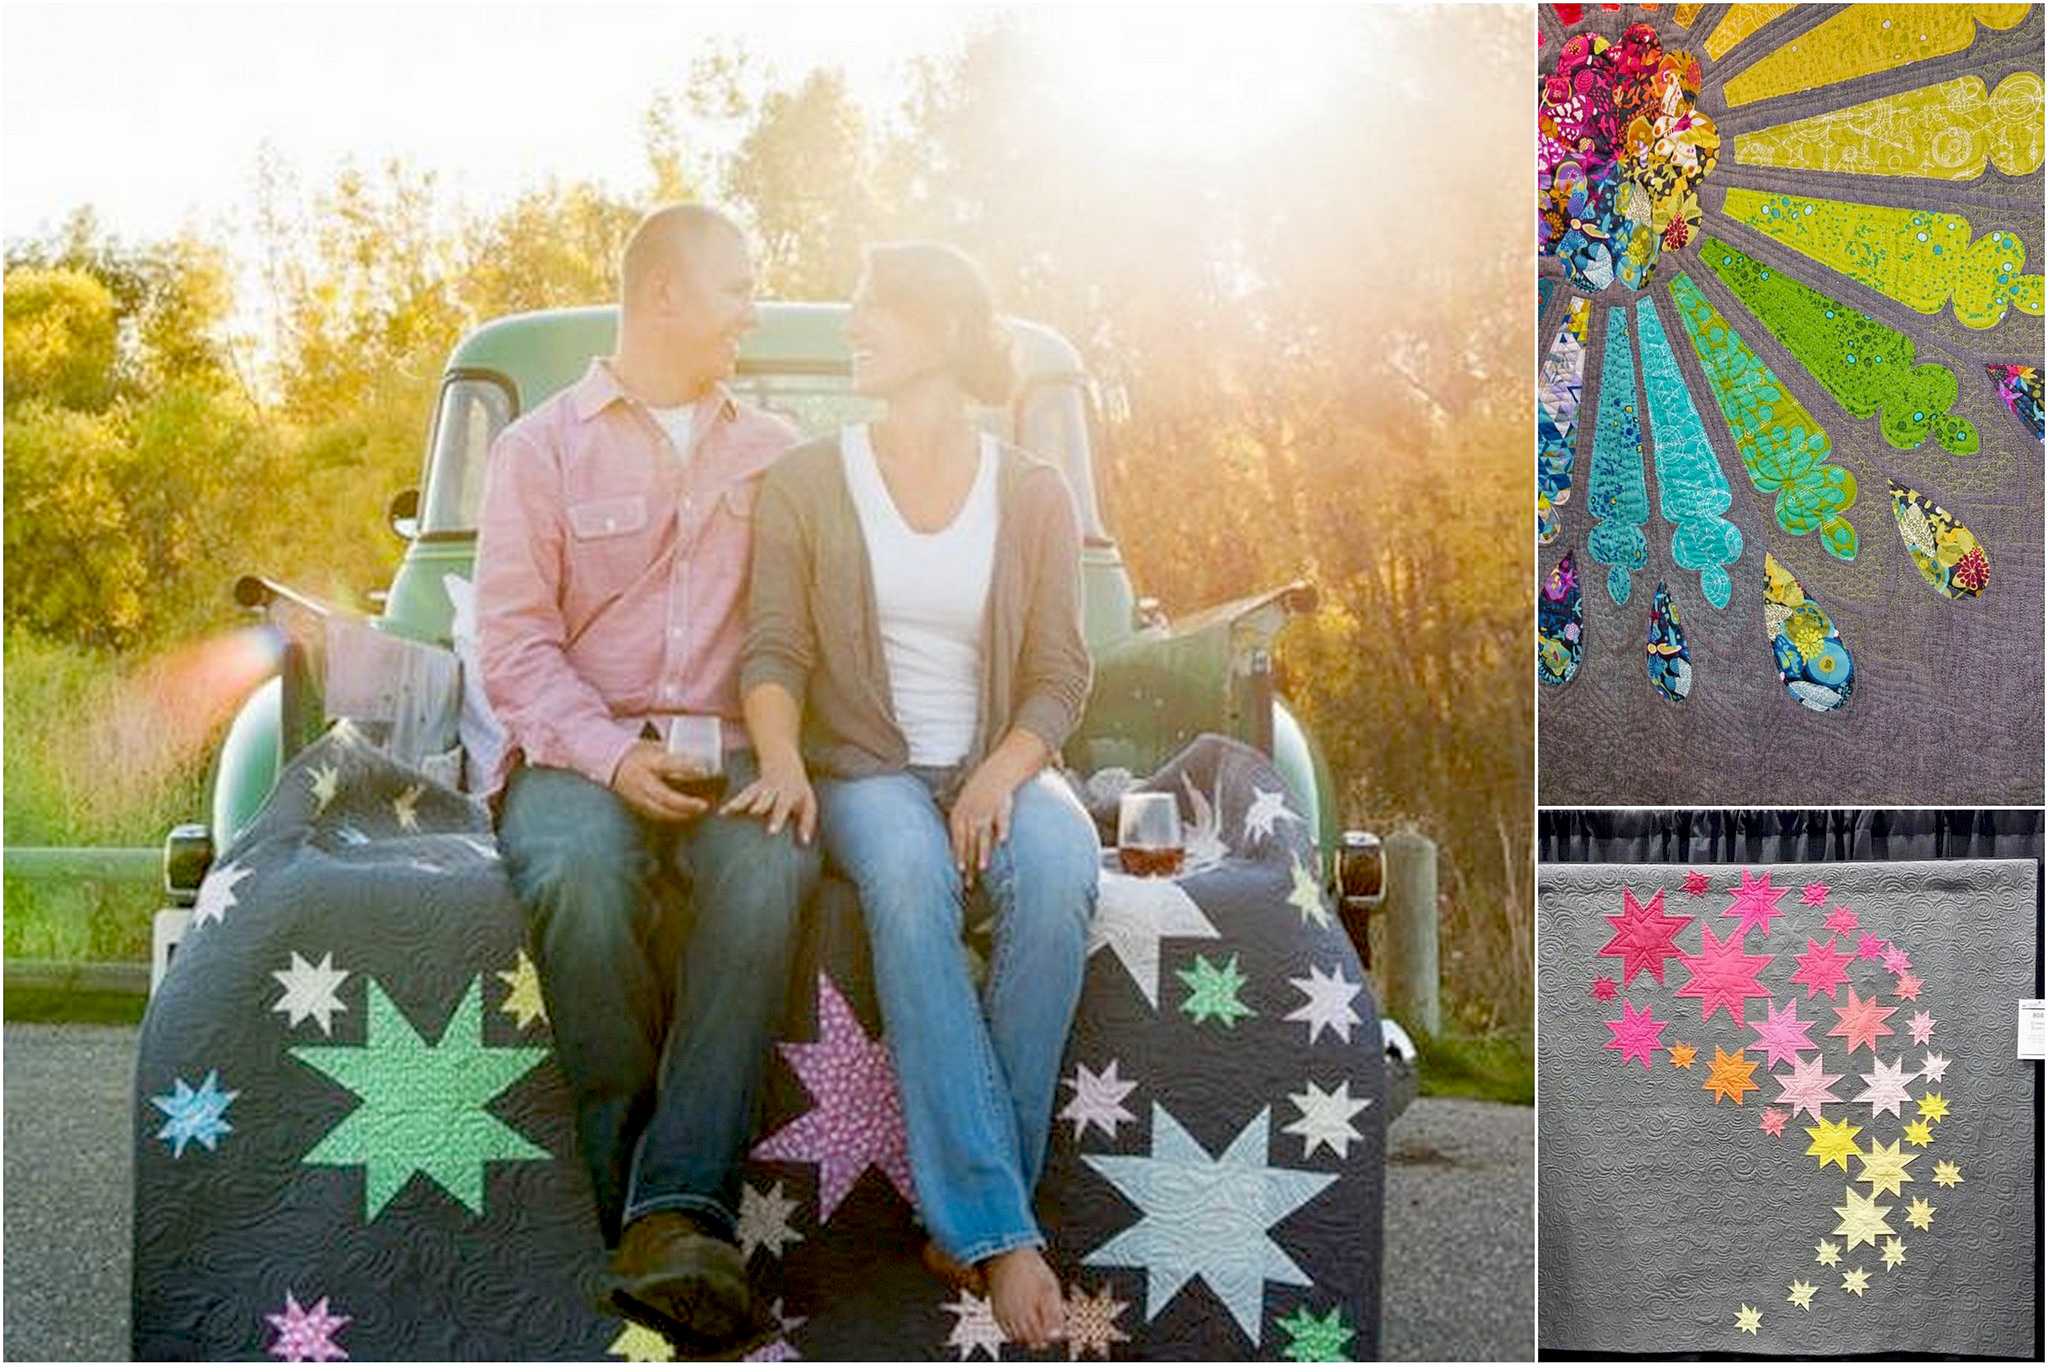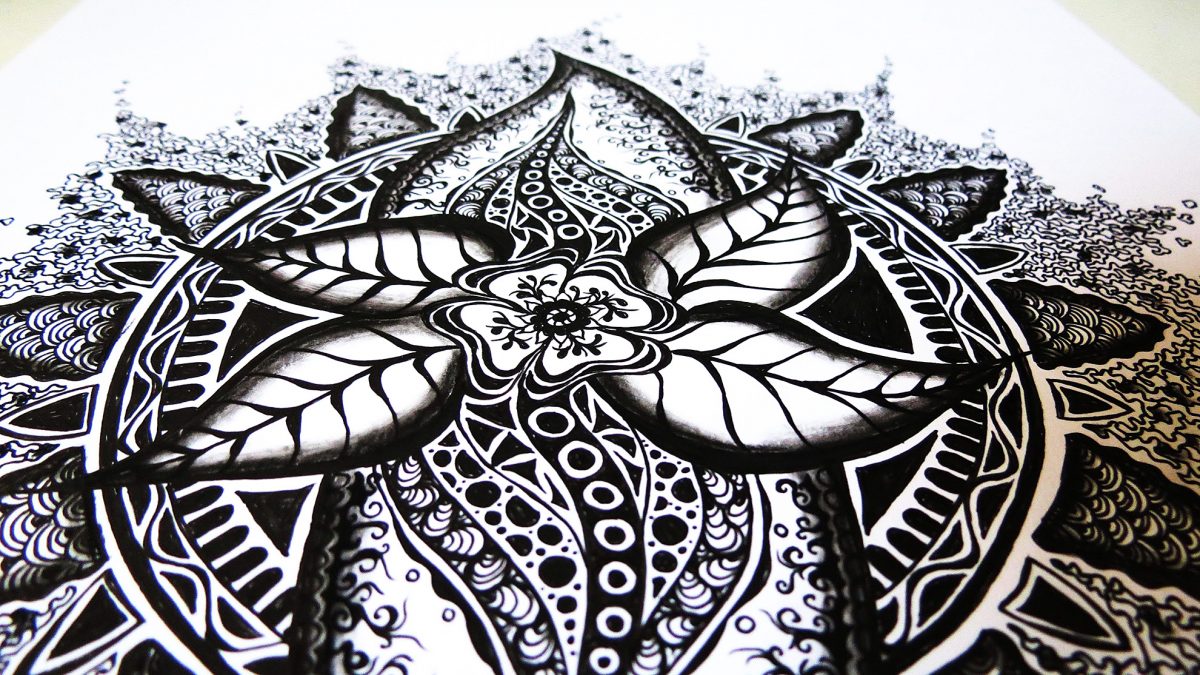
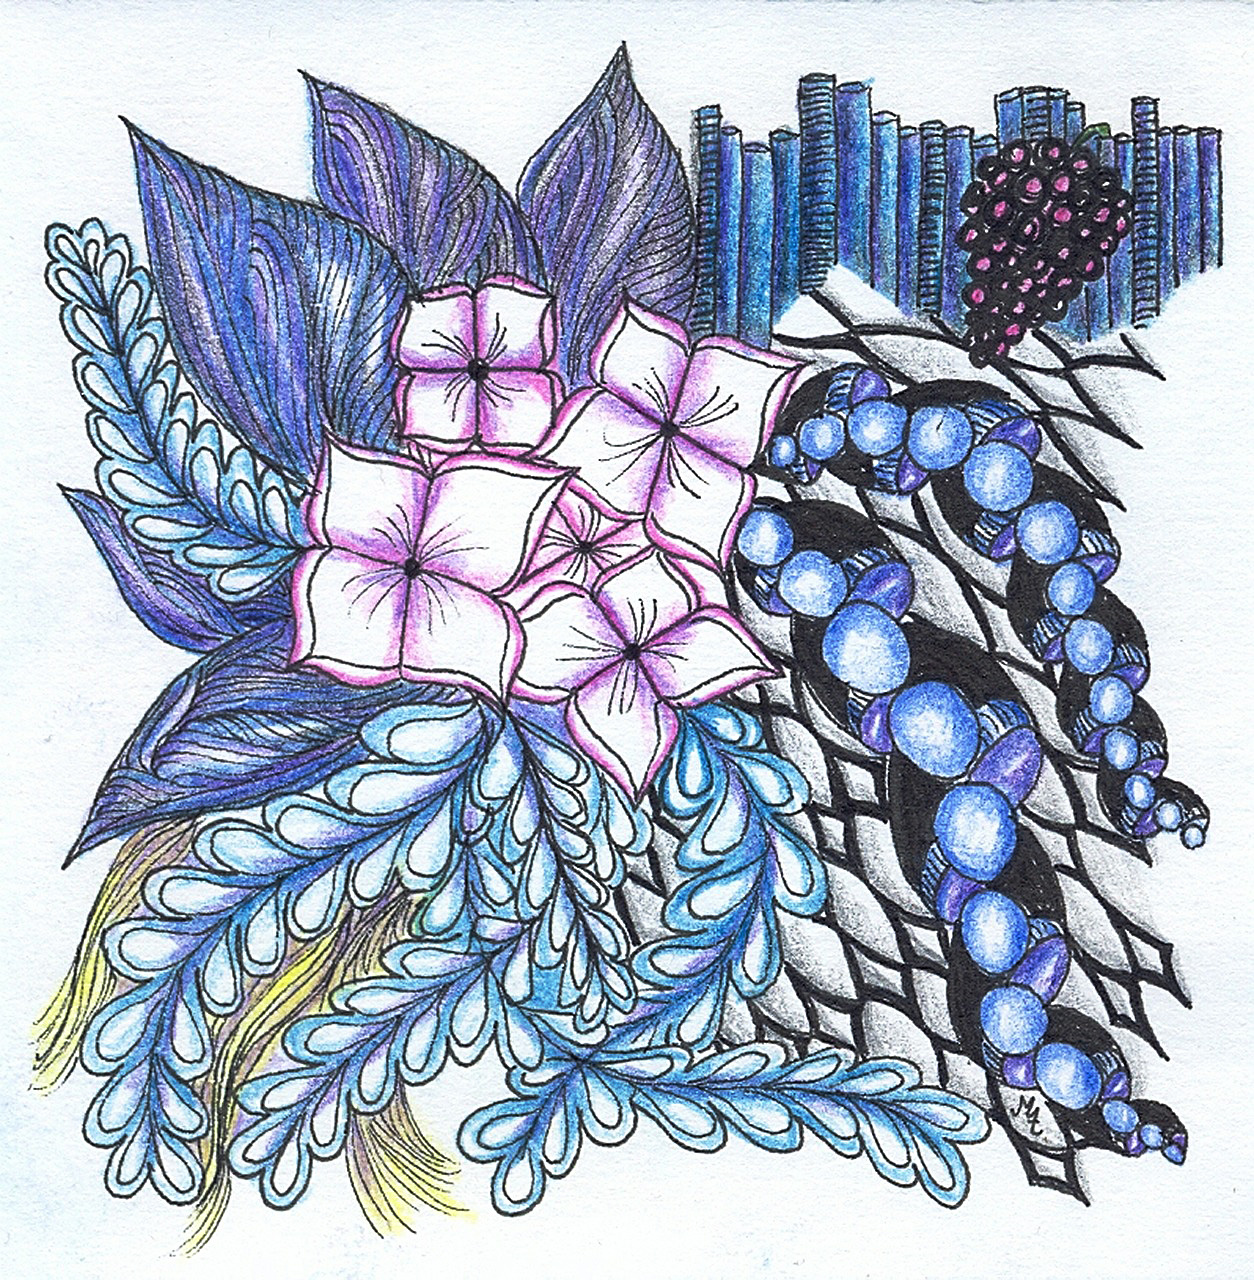
Zentangle design flows free like a river of creativity.
Have you heard about the cool art/meditation craze that’s gaining popularity? It’s called Zentangle. The basic concept is using basic shapes in a repeated fashion to create pictures. In doing so, the mind disconnects and enters a meditative state.
Although I enjoy Zentangle and find it fun and relaxing, I also find that my hand cramps holding the necessary pens and pencils for an extended period of time. Instead, I think the same concepts can be used to create gorgeous quilts.
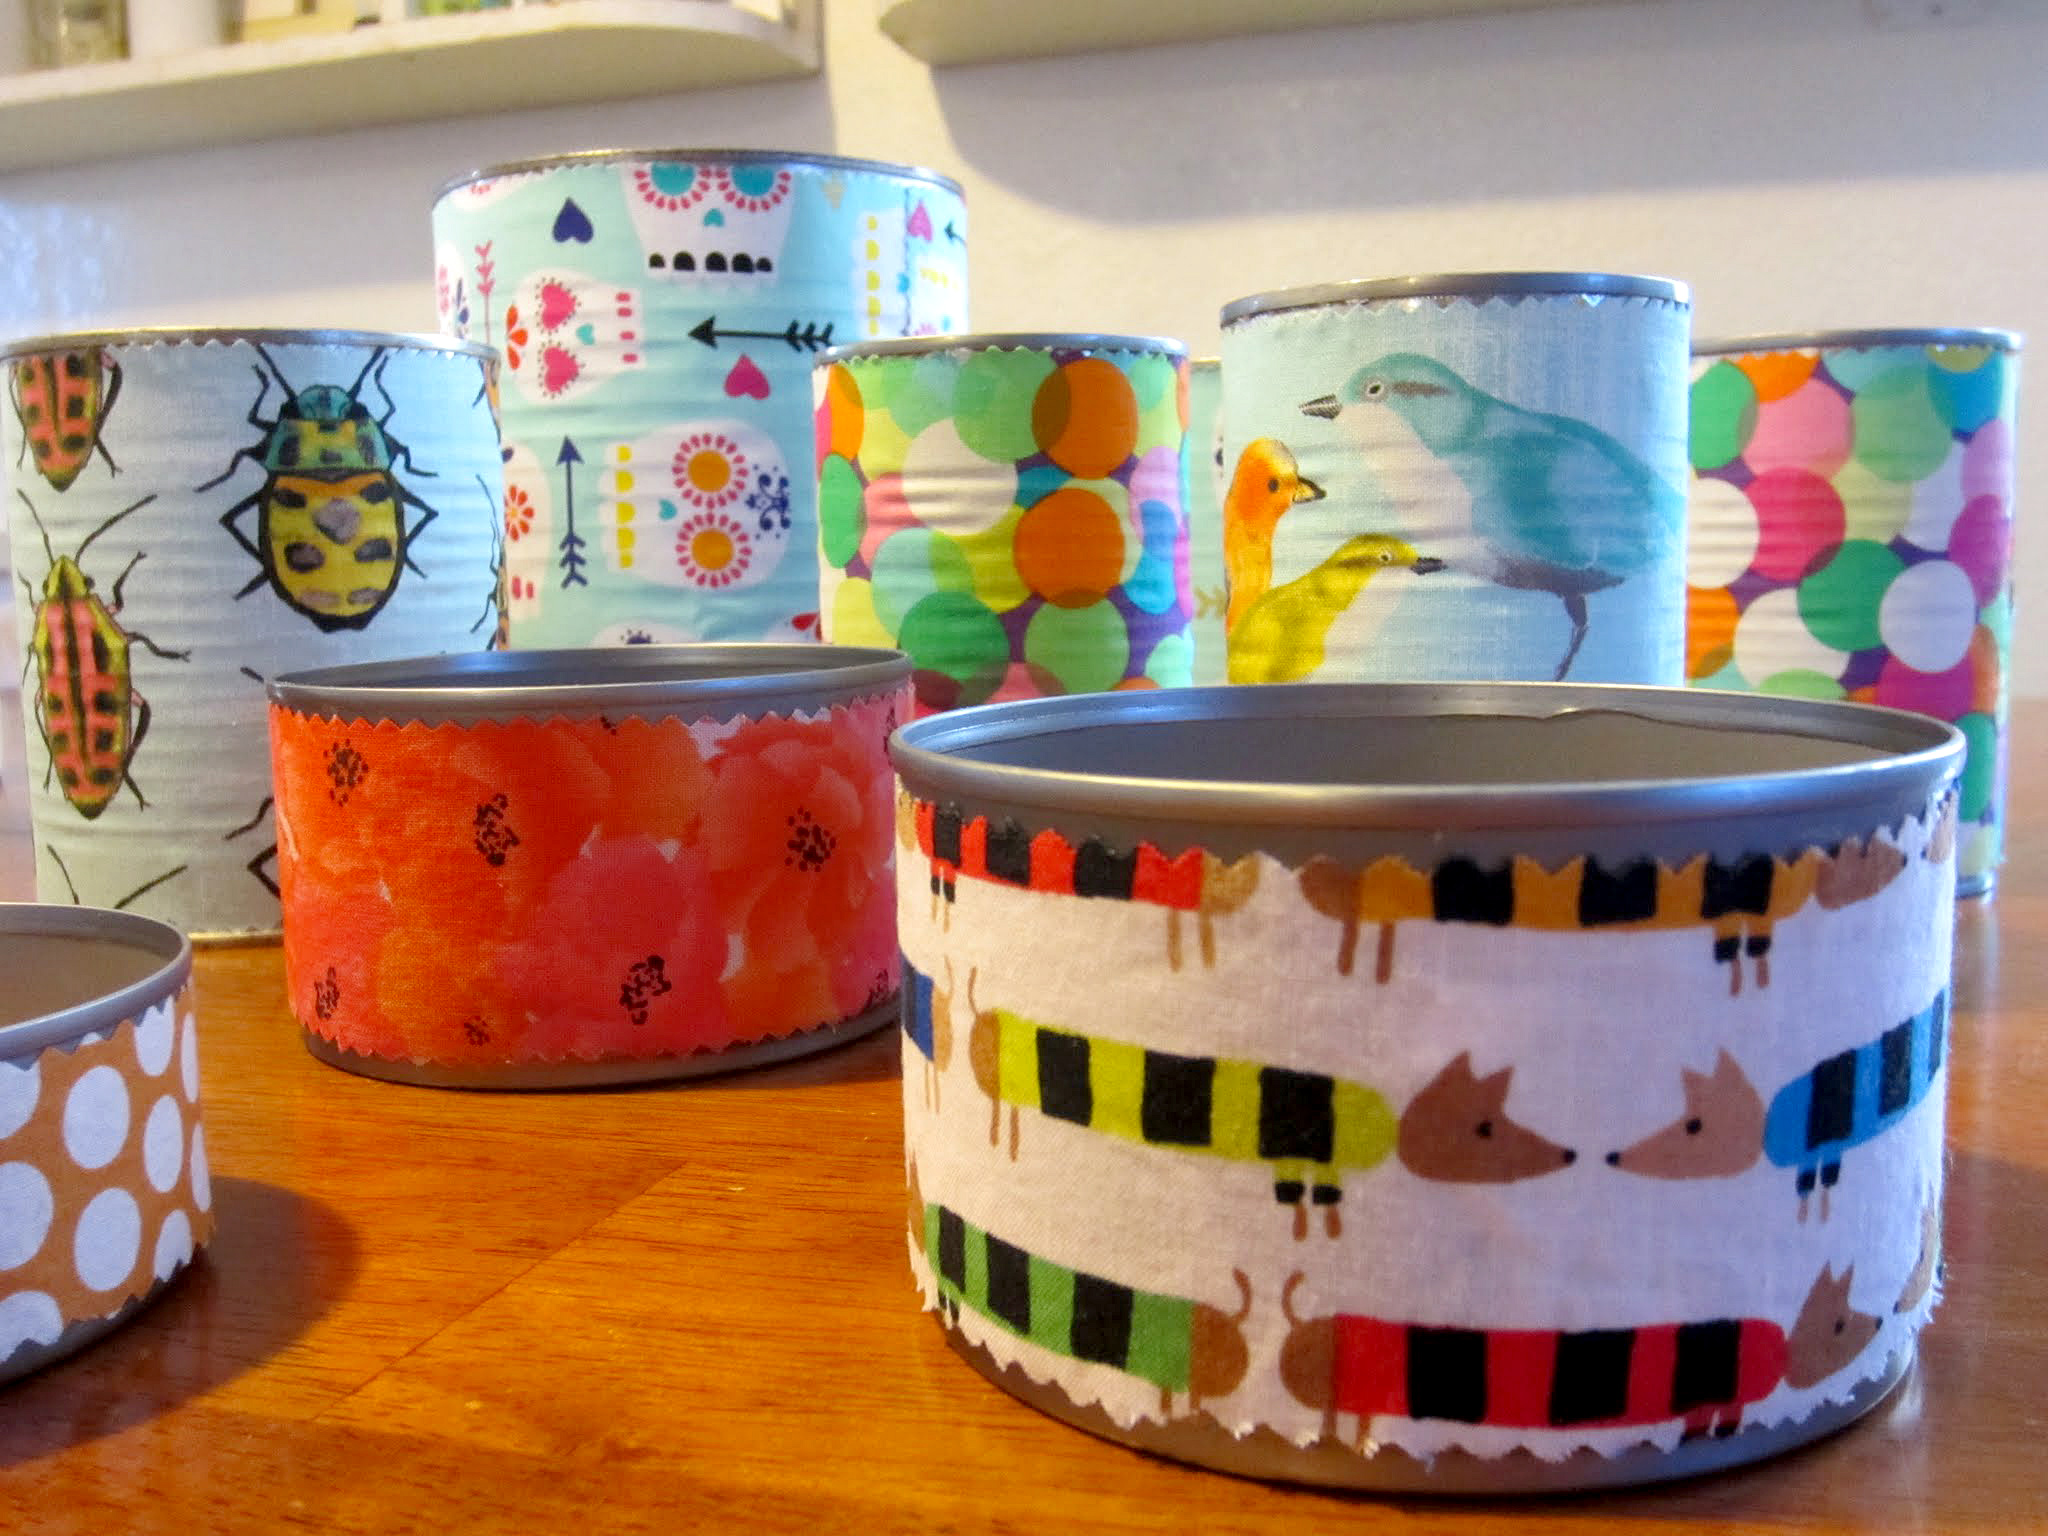
Plain Fabrics
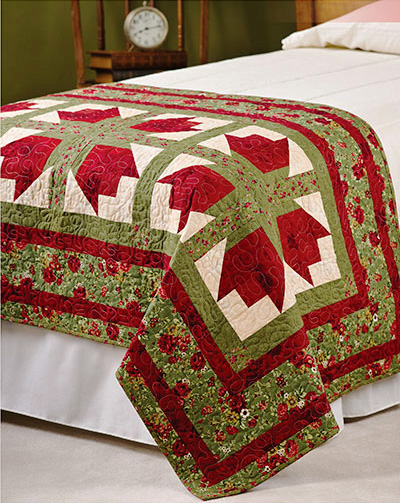
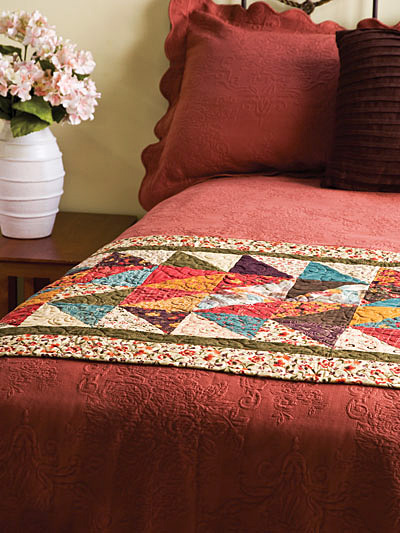
Instead of using fabrics with cool, cute or funky patterns, choose plain fabrics and allow the Zentangle concept of basic shapes in repetition to give your quilt its pattern and character. Instead of a quilt with one pattern repeated throughout, your quilt will be a masterpiece of many patterns that combine to create a unique, gorgeous quilt anyone would be proud to own.
Pick Your Tangles
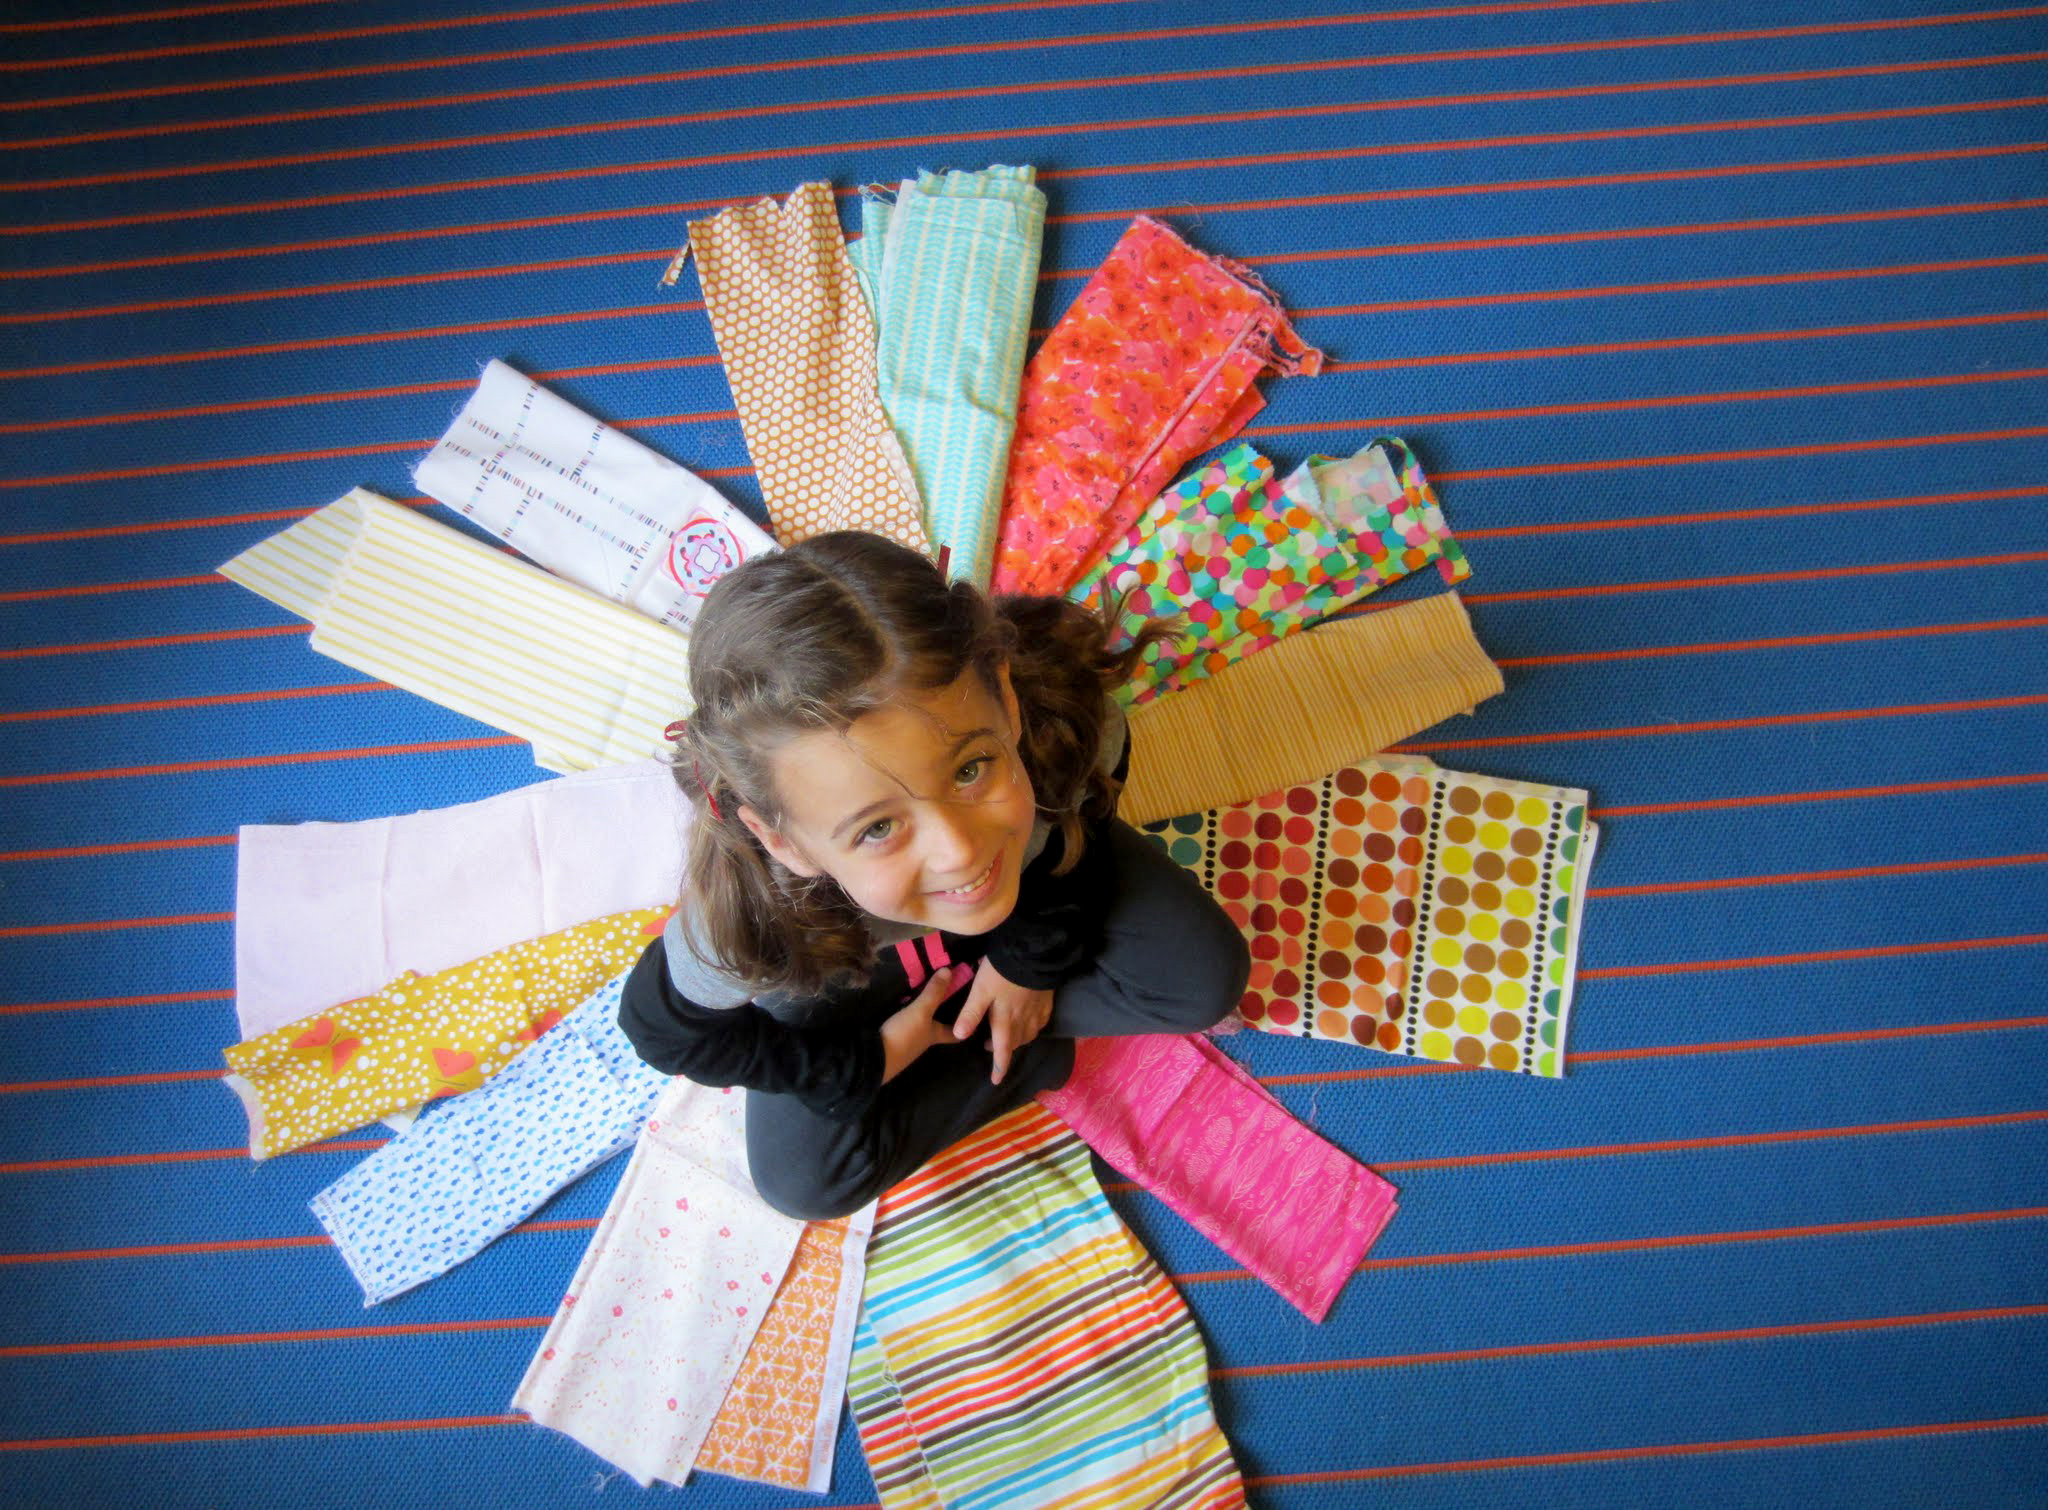
There are hundreds of Zentangle patterns (tangles) to choose from, with more being created all the time. You can do an image search, or for those of who need a little more instruction try http://tanglepatterns.com/ to find several tangles that appeal to you and that you think would combine well together to make a quilt. Depending on the size of the finished quilt, pick at least seven different tangles. The more tangles you choose, the more interesting your finished quilt will be.
Chart It
You’ve likely got dimensions in mind for your quilt project. To ensure that your Zentangle quilt comes out the right size, draw it out on graph paper first. That will help you know how much fabric you need for each of the different patterns as well as help you know where to stop on each of the patterns to wind up with a rectangular quilt with crisp edges. Plus you get to experience doing a Zentangle drawing.
Templates
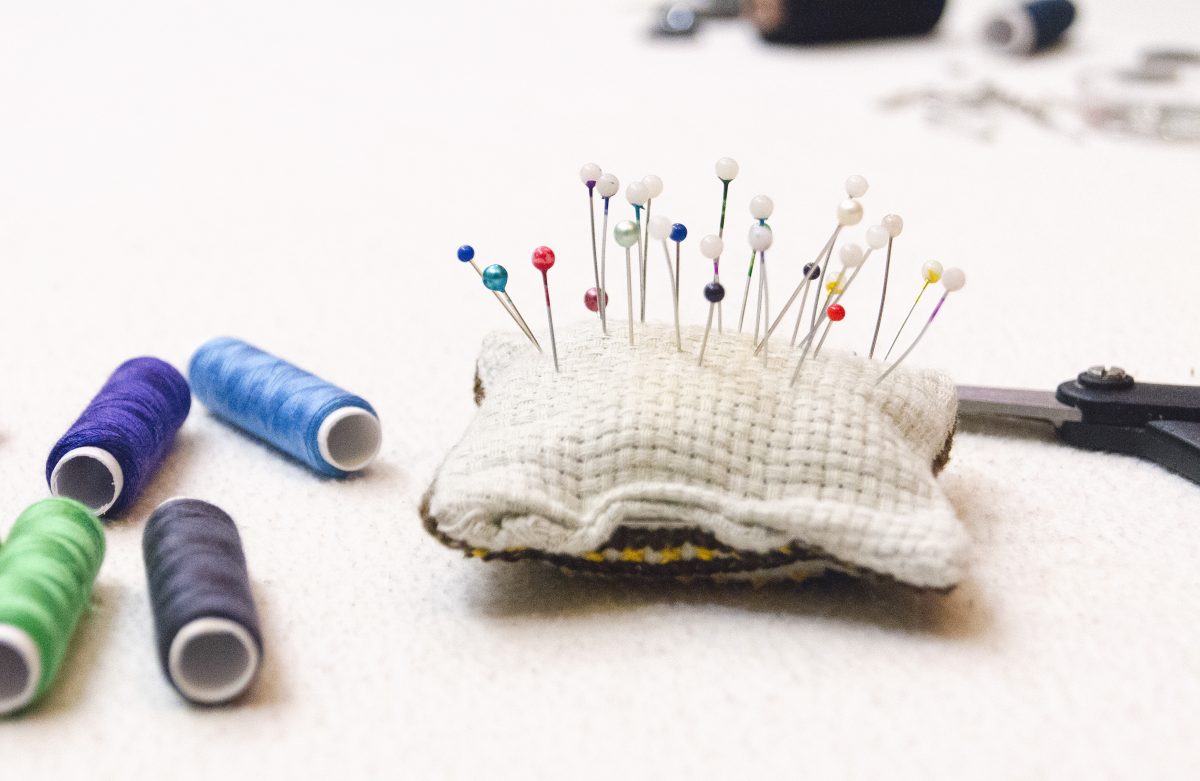
Once you’ve gotten this far, and to help you ensure that your quilt comes out as you envision in, create templates for each of the Zentangle shapes (and the varying sizes of them) you plan to use. A manila folder or empty cereal box work well for creating the template shapes.
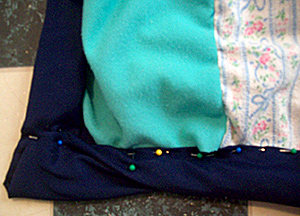
Cut, Cut, and More Cut
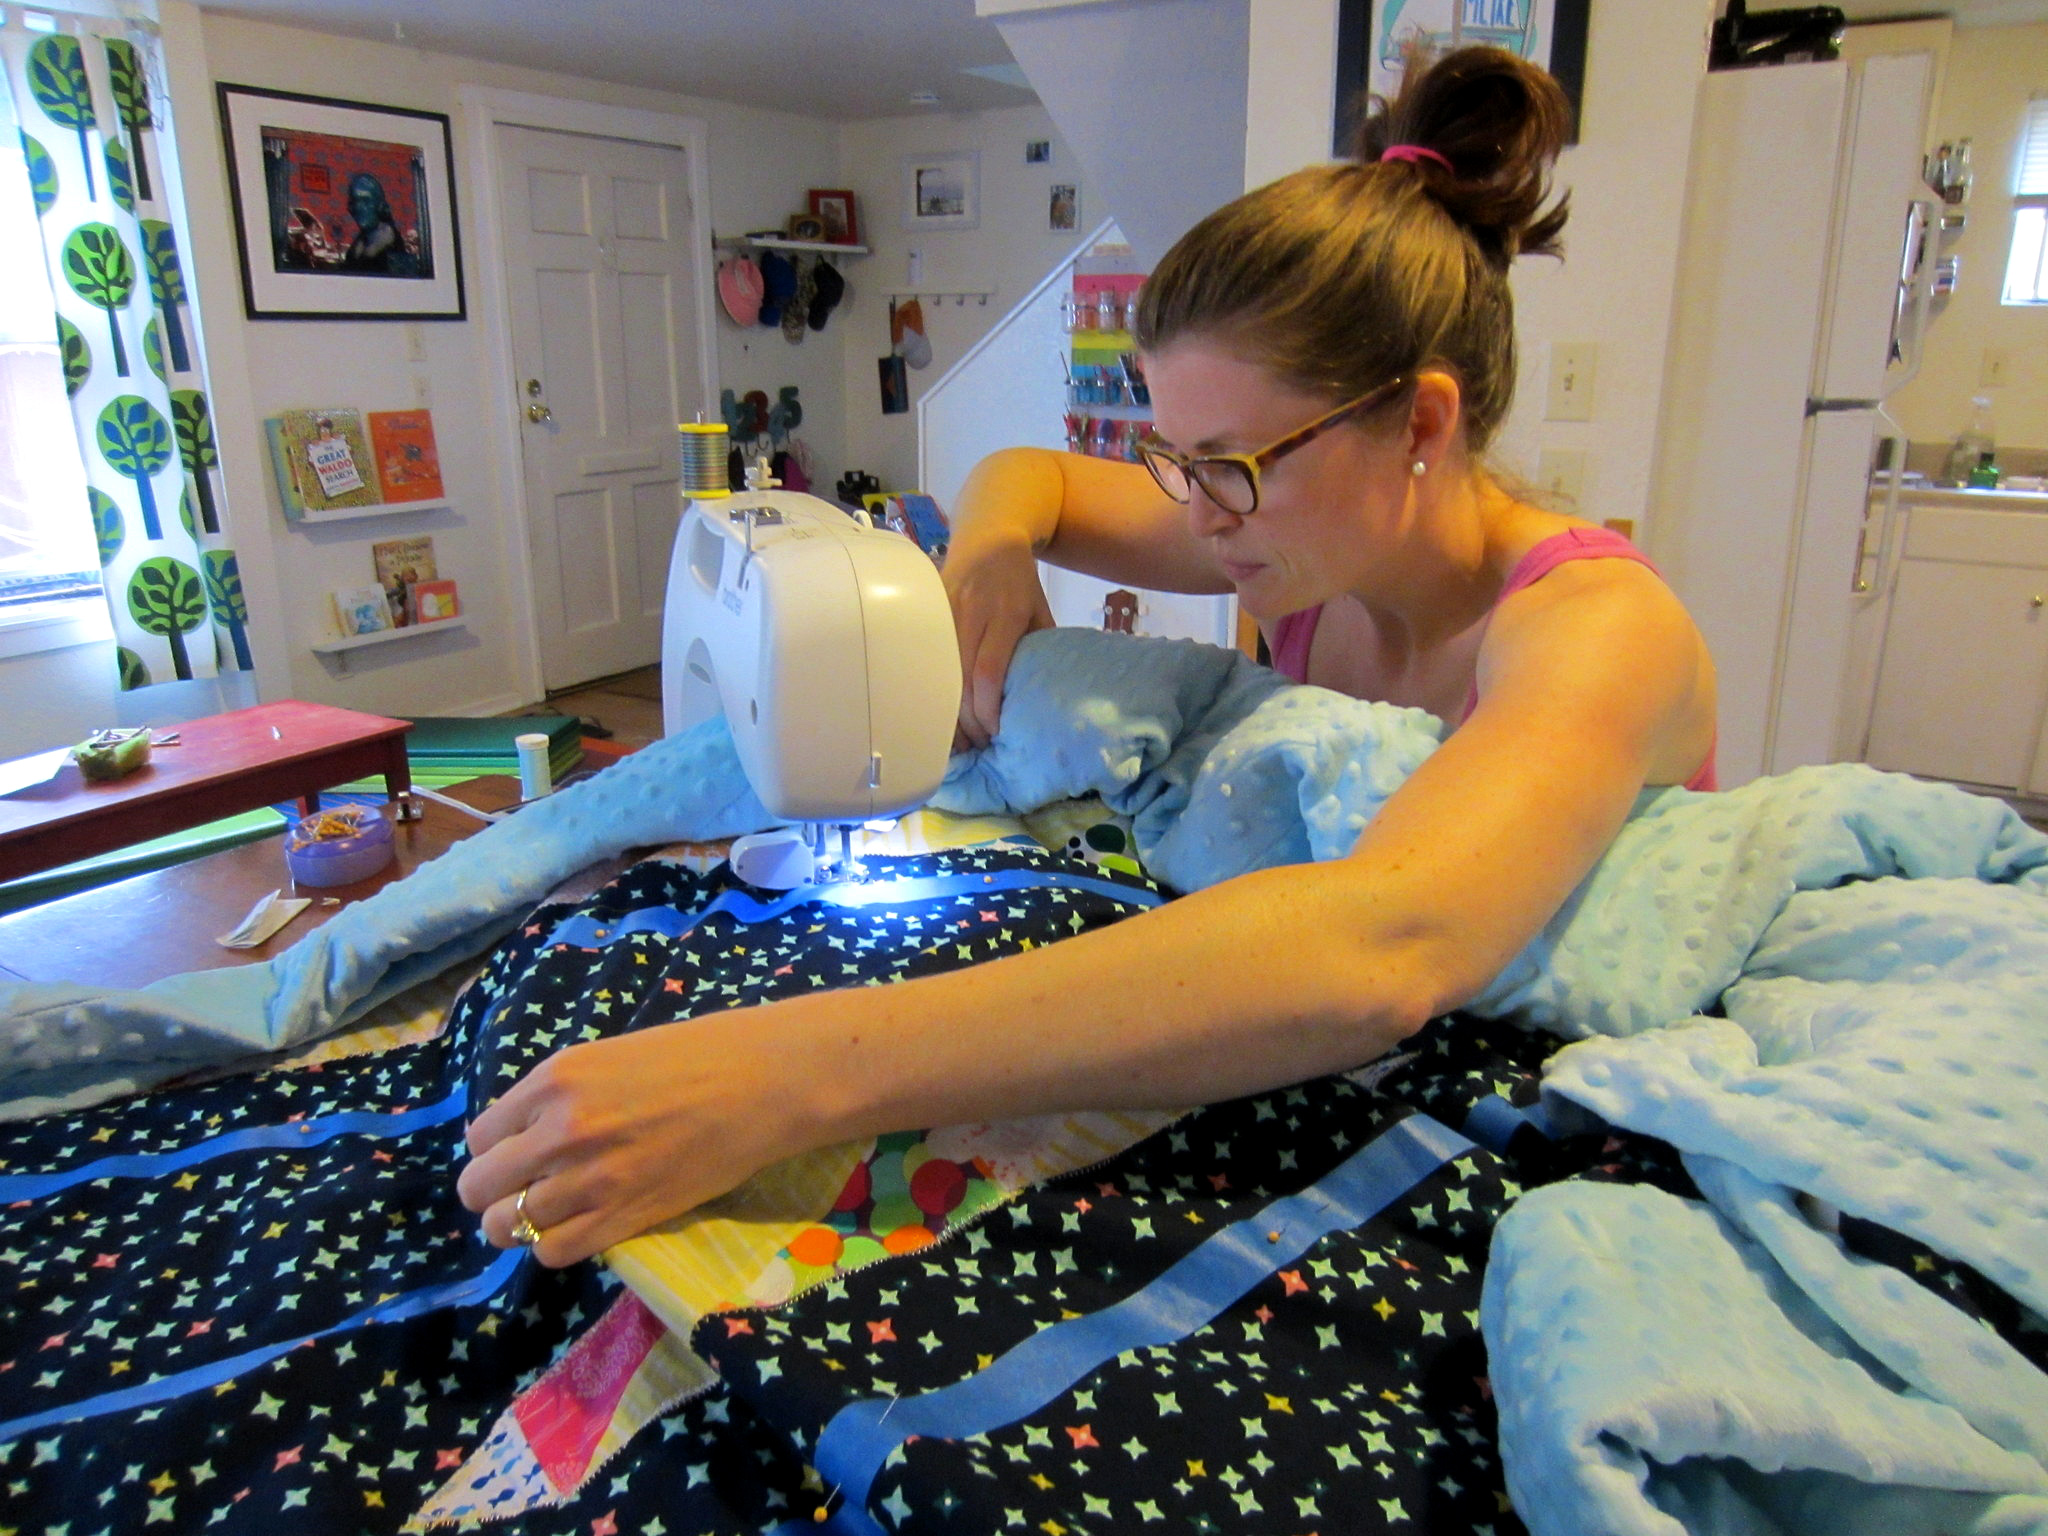
From this point on, the process is pretty much like making any other quilt. Cut out all the tangle shapes and sizes on the appropriate fabrics. If you don’t usually do a dry fit, it may be wise to do so with a Zentangle quilt since they’re more freeform.
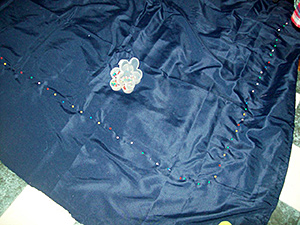
Stitch, Quilt, Go
When you’ve got all your tangle pieces cut out and dry fit together, sew them up as you would any other quilt pattern; stopping to check for fit after each pattern section. For the back, depending on the look you’re going for either a solid color or a fabric that combines the colors used in your Zentangle quilt can be used. Complete your Zentangle quilt as you would any other quilt.
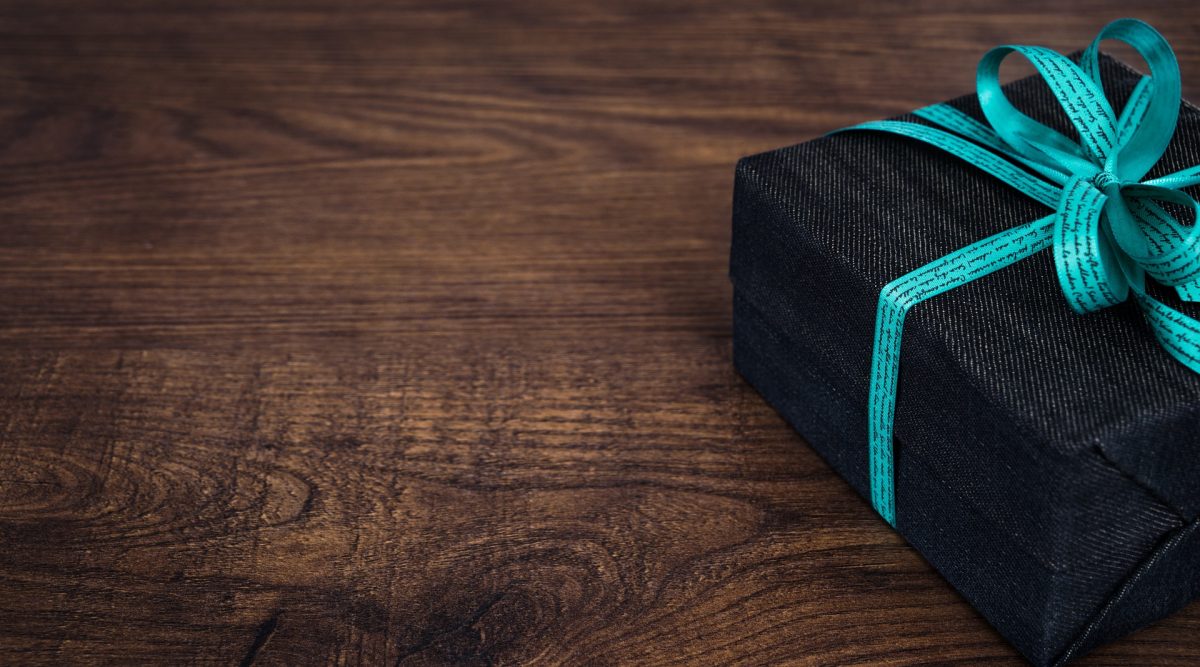
A Zentangle quilt may be a bit tougher than other quilts you’ve made, but it also produces a quilt that is more unique and original. Zentangle quilts make great gifts and are sure to be conversation starters in any home.