Strip Piecing for a Postage Stamp Quilt

Strip Piecing for a Postage Stamp Quilt

It seems the more I dig into the world of quilting, the more things I find that I never knew about it in the first place. The brand of creativity is like a well of opportunities, or a garden that you can browse until you find the right flower to plant in your yard. Each project and possibility is its own type of craft, and the quilter has to figure out which of them is intriguing enough to try a hand at.

This idea is essentially what I’m doing for this blog when I explore new quilt types. I look at new possibilities, and when one catches my interest, I dig deeper!

For this blog post, that’s exactly what I’ll do for what’s known as a postage stamp quilt.

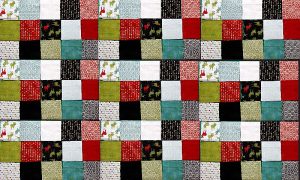
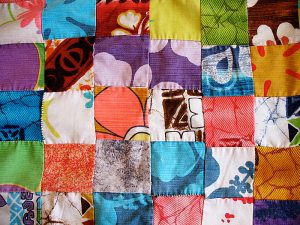
Postage stamp quilt

A postage stamp quilt.

A postage stamp quilt.

If you’re wondering what a postage stamp quilt is, it’s actually not that complicated of a style to explain! Think of a roll of postage stamps waiting to be applied to envelopes, and you’ll have a good grasp on what they can look like. It’s one small block of fabric after another, like the patchwork quilt I invested time in, but with much smaller pieces. In fact, that seems to be the main difference in the top layer of a postage stamp quilt and one for a general patchwork quilt if they’re both basic block formats. For the stamp quilt, the blocks are smaller—potentially only a couple of inches!

When I was first introduced to this concept, I was a little intimidated. The reason for that intimidation was that I know by experience how much time can be spent assembling the outer layer of a larger-block quilt (something closer to ten inches), so the idea of putting together pieces that are this small felt overwhelming. Taking the process one piece at a time would require a long, long time for me, and the strategy would be so focused on such a smaller area that it would almost have to be tedious. As intrigued as I was, I figured it would be a frustrating task!

Strip piecing

Then I did a bit more research, and I realized you don’t have to sew these pieces one at a time. Another strategy is to strip piece them together.
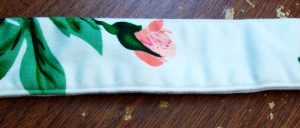
All strip piecing means is that, rather than focusing on one square block of fabric, you’re using longer sections to sew together  — rectangles in place of squares.

All strip piecing means is that, rather than focusing on one square block of fabric, you’re using longer sections to sew together
— rectangles in place of squares.

All strip piecing means is that, rather than focusing on one square block of fabric, you’re using longer sections to sew together—rectangles in place of squares. For example, if you choose to use two-inch blocks of fabric for your stamp blocks, make sure the width of each strip of fabric is two inches, but don’t worry about creating the two-inch length yet. Rather, keep those strips longer!

As one source pointed out, how long the strips are can depend on you, what you’re able to handle, and how long you can keep cutting in a straight line (Quilt Videos, 2016). If you can go from the top to the bottom of three feet of fabric, you can have three-foot strips of fabric to work with. But if you find that you tend to get shaky or swerve-prone with extended cutting, you might want to keep those strips smaller. For me, I probably wouldn’t go beyond ten or twelve inches, but if you’re a more advanced quilter, you can try for more.

Time to put these pieces together
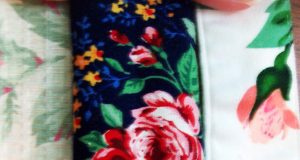
Once you have your strips, line them up side-by-side and sew them together in a chain fashion, two strips at a time.

Once you have your strips, line them up side-by-side and sew them together in a chain fashion, two strips at a time.

Once you have your strips, line them up side-by-side and sew them together in a chain fashion, two strips at a time. Begin with your first two strips, sewing them along their long sides so that they’re linked with both of their primary images being showcased, and then do the same with one of those linked pieces and a new strip. Once you finish, you should have a series of fabrics connected in long strips that are small enough, width-wise, to embrace the postage stamp quality in a quilt.

Once you finish, you will have a series of fabrics connected in long strips.

Once you finish, you will have a series of fabrics connected in long strips.

From strips to squares

After you’ve sewn a number of strips together—again, it can depend on how much you’re comfortable with working on at a time—it’s time to make those rectangles into squares! If your fabric strips were two inches in width, measure and cut across your connected fabric strips at every two-inch interval from top to bottom, length-wise. At that point, you should have a series of new strips, though these will be made of a series of smaller blocks of fabric—as many blocks as fabric types that you used.

If your fabric strips were two inches in width, measure & cut across your connected fabric strips at every two-inch interval from top to bottom, length-wise.

If your fabric strips were two inches in width, measure & cut across your connected fabric strips at every two-inch interval from top to bottom, length-wise.

You should repeat this process through all of the fabric you plan to use for your quilt until all of it has been transformed into these multi-fabric strips. From there, it’s time to start piecing them together into the top layer of your quilt. All you need to do is arrange them together in a way that looks appealing to you until you reach the width and depth you were looking to achieve in your quilt.

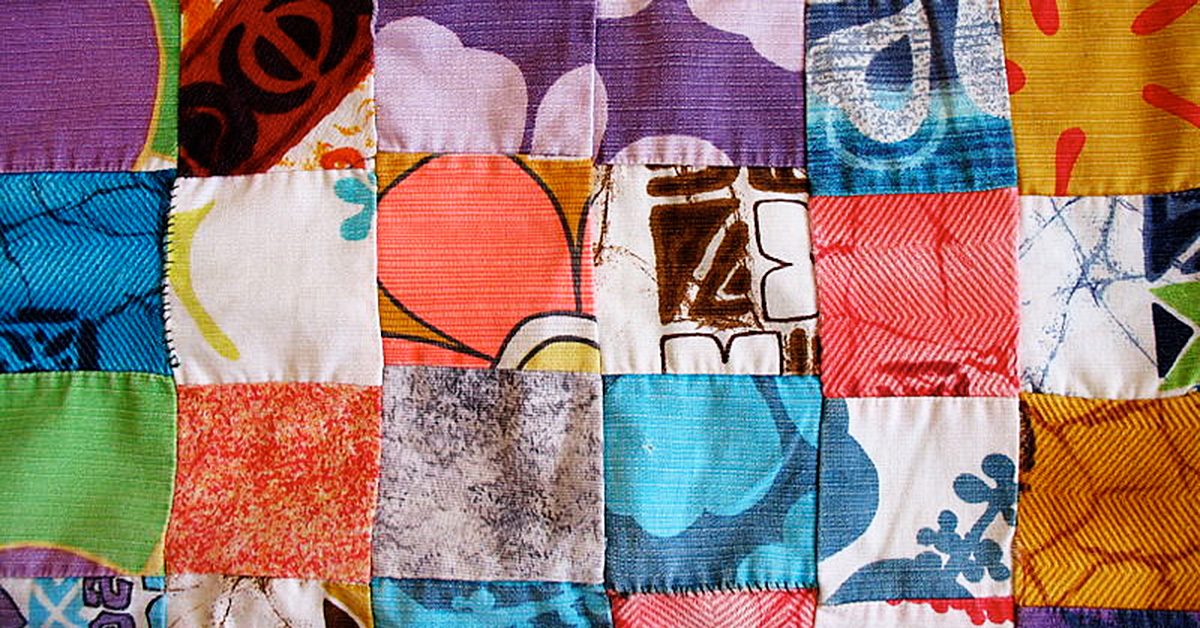
All you need to do is arrange them together in a way that looks appealing.

All you need to do is arrange them together in a way that looks appealing.

The process might sound a bit complicated, but once you get the hang of it, you might be surprised at how quickly your stamp quilt comes together!


References
Quilt Videos. (2016, March 24). Quilt Monkey – Episode 301 – Easy, Strip Pieced Postage Stamp Quilt Block [Video File]. Retrieved from https://www.youtube.com/watch?v=j3N7al2V8C8
Witherby, S. (2011, October 27). Dead Simple Christmas Quilt mock up [Electronic Image]. Retrieved from https://www.flickr.com/photos/inkyswot/6285898784
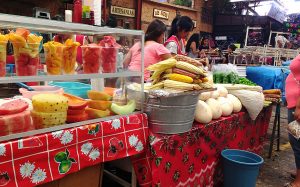
Fabrics and Textiles in San Miguel de Allende, Mexico

Fabrics and Textiles in San Miguel de Allende, Mexico

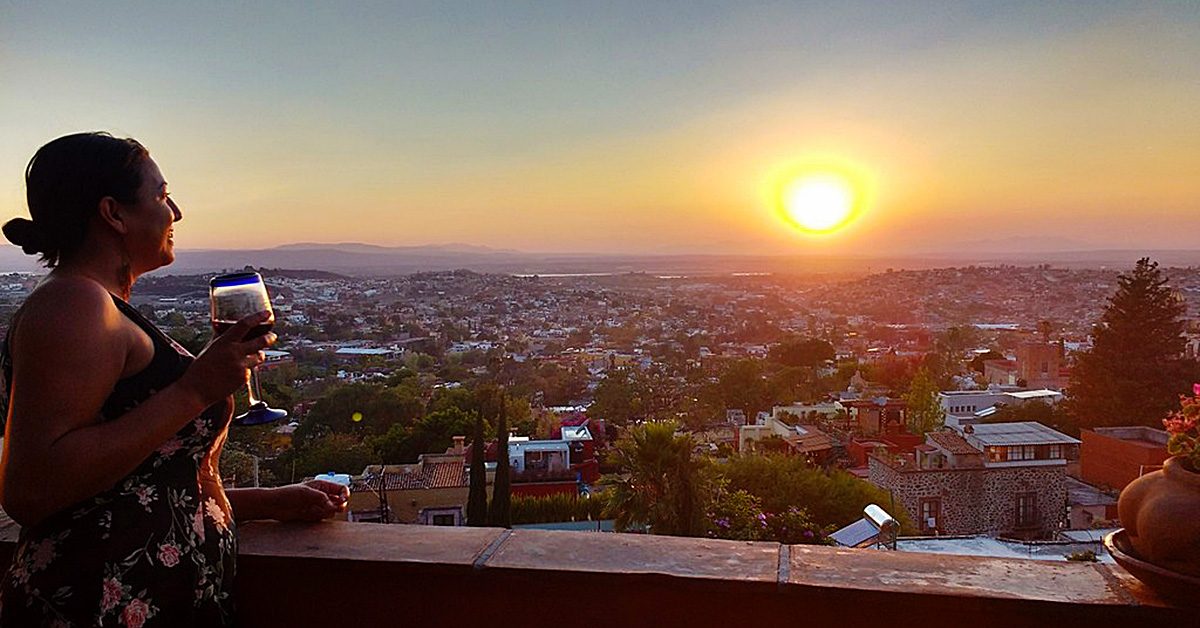
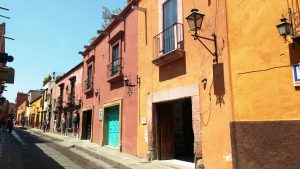
San Miguel de Allende, in the state of Guanajuato, Mexico.

San Miguel de Allende, in the state of Guanajuato, Mexico.

I recently traveled to San Miguel de Allende, in the state of Guanajuato, Mexico for a five day writer’s retreat with two friends. Although famous in Mexico proper, many gringos have not heard of San Miguel, located the mountains at 6,200 ft. elevation, at approximately Mexico’s center (200 miles north of Mexico City and about 600 miles from the Texas border).

Although famous in Mexico proper, many gringos have not heard of San Miguel.

Although famous in Mexico proper, many gringos have not heard of San Miguel.

I’m a sewist and a writer and while I was there to work on my book, I could not tear my eyes away from the gorgeous colors of the city and the beautiful fabrics & textiles I found there.

I could not tear my eyes away from the gorgeous colors & textiles of the city.

I could not tear my eyes away from the gorgeous colors & textiles of the city.

Even the city itself reminded me of a patchwork quilt.

Even the city itself reminded me of a patchwork quilt.

Even the city itself reminded me of a patchwork quilt.

Mexico is not afraid to use color, in fact it embraces bright, vibrant colors in both private and public buildings, art, and culture.


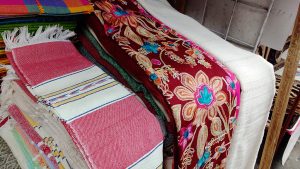
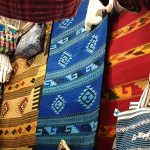
Locals claim that the birthplace of the serape is San Miguel de Allende and I was inundated with options.

Locals claim that the birthplace of the serape is San Miguel de Allende.

Locals claim that the birthplace of the serape is San Miguel de Allende.

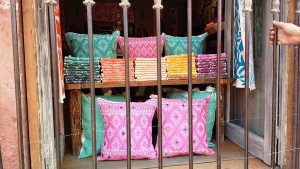
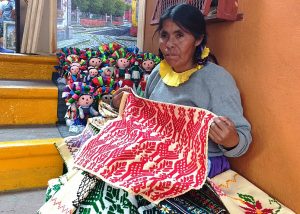
Other items on display were rugs, pillowcases, bedding sets, purses, bags, belts, guayaberas, and embroidered and woven fabrics.

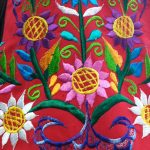
The hand embroidery I found particularly compelling. I bought a bright yellow bag with hand embroidery and my girlfriend, Lizz, bought a hand embroidered panel she plans to hang on her wall at home.

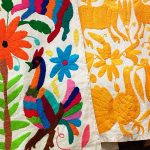
This is the panel she purchased (photo taken with permission).

This is the panel she purchased.

This is the panel she purchased.

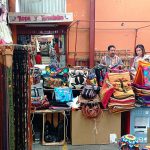
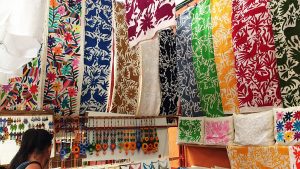
This booth was my favorite. It was located in El Mercado de Artesanías. I was so inspired that I had my pencil and paper out and took notes to plan out quilts I’d love to make with the huge, hand-embroidered panels.

This booth in El Mercado de Artesanías was my favorite.

This booth in El Mercado de Artesanías was my favorite.

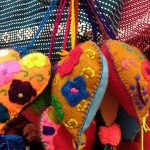
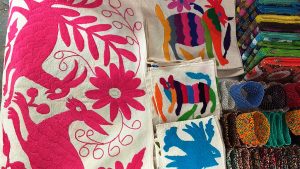
They sold smaller squares too, similar to charm packs and layer cakes. I’ve worked these into some upcoming designs as well.

I’ve worked these into some upcoming designs as well.

I’ve worked these into some upcoming designs as well.

Mexico also has the best selection of oil cloth fabrics. Make sure to pick up a few yards for your stash whenever you visit.

Make sure to pick up a few yards for your stash whenever you visit.

Make sure to pick up a few yards for your stash whenever you visit.

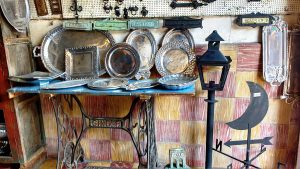
After a long day in el centro, I spotted this Singer sewing table used for display at a local tienda. Sewing is everywhere.

Sewing is everywhere.

Sewing is everywhere.

Here I’m enjoying a hard earned beer after a long day of writing, but it’s the bag in the foreground I want you focus on. Check out that embroidery and the stunning color!

Check out that embroidery & the stunning color!

Check out that embroidery & the stunning color!

I cannot wait to go back. Have you ever visited San Miguel? Did you buy any fabric while you were there? Share with us your finds in the comments.

I cannot wait to go back.

I cannot wait to go back.

(All photos were taken with permission)
———————————————————————————–
Charlotte Kaufman is a writer and sewist in Mammoth Lakes, California. She specializes in marine and home interiors and continues to fall more and more in love with quilting. You can follow her at charlottekaufman.com.