

Every embroidery file falls into one of three categories: expanded (stitch-only), machine (brand-specific hybrid), or native (editable software format). Pick native when you’re editing a design, pick your machine’s own format when you’re stitching, and reach for DST when you need a universal file that almost any commercial machine can read.
Here’s the fast version, so you can get back to your hoop:
-
Editing artwork? Work in the native format your digitizing software saves (often
.EMBor.ART). -
Stitching on your home machine? Export to whatever extension your machine reads. Brother and Baby Lock require a specific format typically called
.PES, Pfaff and Husqvarna Viking machines generally use.VP3, and Janome machines use.JEF. -
Sending a file to a production shop or an unfamiliar machine? Export
.DST. It’s the closest thing embroidery has to a universal exchange format. - About to run a job for real? Check your machine’s supported extensions in the manual, load a test file, and run a scrap-fabric stitch before you touch your good material.
That’s the whole map. The rest of this guide fills in why each format behaves the way it does, and how to move between them without losing stitches, colors, or your sanity.
Key Takeaways
Matching a file’s category to its job, native for editing, machine format for stitching, DST for cross-platform exchange, is what prevents most embroidery production errors before they happen.
| Point | Details |
|---|---|
| Three format tiers exist | Expanded (stitch-only), machine (hybrid with metadata), and native (editable) each serve a different stage of the workflow. |
| DST is the universal exchange file | It lacks color data but loads on nearly any commercial or home machine, making it the safest hand-off format. |
| Conversions lose data one way | Object shapes, color palettes, and underlay commands rarely survive a downward conversion to expanded formats. |
| Vector or high-res flat artwork digitizes best | SVG and PNG files with simplified colors produce far more predictable stitch-outs than low-res JPGs. |
| Test stitching is not optional | Running scrap fabric before production catches tension, density, and color problems before they hit the final piece. |
| Sewingmachinesplus supports format matching | Their embroidery machines and software, like the Baby Lock EMB7 and Singer Quantum Futura, pair with expert guidance on which formats and settings fit your setup. |
Table of Contents
- Understanding Embroidery File Formats: The Three Categories
- Common Embroidery File Extensions and Who Uses Them
- What Gets Lost When You Convert Embroidery Files
- How to Convert Artwork Into a Machine-Ready Embroidery File
- Fixing Compatibility Problems Before They Ruin a Project
- Choosing Digitizing Software and Conversion Tools
- What Separates a Reliable Shop From a Guessing Game
- Get the Machines and Software That Match Your Workflow
- Sources
- FAQ
Understanding Embroidery File Formats: The Three Categories
Every embroidery file format belongs to one of three functional tiers, and knowing which tier you’re working in tells you exactly what you can and can’t do with it. Formats split into low-level stitch formats, hybrid machine formats, and high-level native formats, and each one exists for a different job in the production chain.
-
Expanded (stitch-only) formats. These are the plainest files in embroidery. Think
.DSTand.EXP. They contain a straight sequence of stitch coordinates and machine commands, nothing more. No color names, no thread charts, no design layers. That bare-bones structure is exactly why.DSTbecame the industry’s default hand-off file: it’s widely accepted in commercial production because it’s compact and universal, even though it can’t tell a machine which thread color goes where. -
Machine (hybrid) formats. Formats like
.PES,.JEF,.VP3,.HUS, and.VIPsit a step above expanded files. They still carry stitch data, but they bundle in metadata your machine actually uses: color sequences, hoop size codes, and sometimes a small preview thumbnail. That’s why swapping a.PESfile into a machine that only reads.DSTusually means you lose the color roadmap, even if the stitches themselves survive. -
Native (software/object) formats. These are the working files of digitizing software:
.EMBin Wilcom-family programs,.ARTin Bernina’s system, and similar object-based files elsewhere. Unlike the first two categories, native files store the design as editable vector shapes, layers, and underlay settings rather than locked-in stitch paths. You can resize a native file and have the software recalculate stitch density on the fly. Try that with a.DST, and you’ll just stretch the existing stitches into a distorted mess.
The rule of thumb: edit in native, stitch in machine format, and hand off in expanded format when you don’t know what the receiving machine takes.
Common Embroidery File Extensions and Who Uses Them
Matching a file extension to the right hardware saves you a frustrating afternoon of failed imports. Here’s what you’re likely to run into, and where each one lives:
- DST (Tajima) — Stitch-only, no color data, essentially the industry’s lingua franca. Used across commercial multi-head machines and accepted by nearly every consumer machine’s software as an import option.
- PES (Brother, Baby Lock) — Hybrid format with embedded color sequences and preview thumbnails. This is your default if you own a Brother or Baby Lock home embroidery machine.
- VP3 (Pfaff, Husqvarna Viking) — Also hybrid, built for Pfaff and Husqvarna Viking machines, with similar color and hoop metadata baked in.
- JEF (Janome) — Janome’s native machine format, carrying color order and some hoop sizing information.
-
EXP (Melco/Bernina) — Another stitch-only expanded format, common on older Melco and some Bernina machines. Functionally similar to
.DSTbut not always interchangeable with it. -
HUS (Husqvarna Viking, older models) — Predates
.VP3and still shows up on legacy Viking machines. -
VIP (Pfaff/Viking, older models) — An earlier hybrid format from the same brand family as
.VP3and.HUS. - XXX (Singer, some Compucon-based machines) — A simpler machine format found on select Singer models and older embroidery units.
- EMB (Wilcom) — Native, object-based, editable. This is the working file professional digitizers keep, not what they hand to a machine.
-
ART (Bernina) — Bernina’s native software format, playing a similar editable role to
.EMBinside its own ecosystem. -
SEW (Janome, some older units) — A machine format found on some Janome and Elna machines, distinct from
.JEF.
One caveat worth remembering: version matters. A .PES file saved from the newest release of a digitizing suite may include features an older Brother machine simply can’t parse, even though the extension looks identical. Before you commit a job to memory or send a file to a client’s machine, check that specific machine’s manual for the exact versions it supports. Machines are often surprisingly picky about revision numbers within their own native format.
What Gets Lost When You Convert Embroidery Files
Every conversion is a translation, and like any translation, something rarely survives the trip intact. The three format tiers preserve different slices of the same design: expanded files keep stitch commands and nothing else, hybrid files add color sequencing and hoop data, and native files retain the full object structure, including layers, vector shapes, and underlay logic.
Converting downward, from native to hybrid, or from hybrid to expanded, strips information permanently. Converting back upward doesn’t restore it. Once a native file becomes a .DST, there’s no way to recover the original vector shapes just by converting the .DST back to .EMB. You get stitches, not the design intelligence that generated them.
Here’s what commonly disappears in the process:
- Object and vector data. Native files store shapes as editable objects; expanded and most hybrid formats flatten everything into fixed stitch points.
-
Precise color palettes. Expanded formats like
.DSTdon’t store color names or thread brand references at all, so a design converted from.PESto.DSTshows up as one undifferentiated stitch sequence until you manually reassign color stops. - Underlay and trim commands. Some conversions drop or misinterpret underlay stitching (the foundation layer that stabilizes fabric) and automatic thread-trim instructions.
The real-world fallout looks like this: a shirt design that stitched perfectly in .PES comes out with the wrong thread order after conversion to .DST, because the machine has no color metadata to reference and just runs the stitches in raw sequence. Or a design’s density looks fine on screen but puckers on fabric because the underlay didn’t survive the format jump.
Pro Tip: Always keep your original native file as the master copy. Export a fresh machine format from that master every time you need one, instead of converting a machine format into yet another machine format. Each generation of conversion compounds the data loss.
How to Convert Artwork Into a Machine-Ready Embroidery File
Turning a logo or drawing into something your machine can stitch is a workflow, not a single button press, even though some software makes it look that easy. Here’s how it actually breaks down.
-
Start with clean artwork. Vector files (
.SVG,.AI) give you the cleanest results because their shapes are mathematically precise and colors are already flat and defined. High-resolution PNGs with flat fills work almost as well, but low-resolution JPGs with gradients or photographic detail convert unpredictably, since digitizing software has to guess where one color stops and another begins. -
Simplify before you digitize. Reduce your color count and flatten any gradients. Embroidery can’t blend thread colors the way ink blends on paper, so a photo-realistic image with fifty shades of blue needs to become five or six distinct color blocks first.
-
Import and map stitch types. Inside your digitizing software, assign stitch types to each shape, satin for borders and lettering, fill for large areas, running stitch for fine detail lines. Set your underlay (the stabilizing base layer) and stitch density based on the fabric you’re targeting. Brother’s own workflow documentation walks through this exact sequence: import the image, auto-punch, review the result, then finish.
-
Assign trims and stops. Add trim commands between color changes and stop commands where the machine needs to pause for a thread change. Skipping this step is a common reason designs come out with loose jump stitches trailing across the fabric.
-
Export twice. Save your native editable file first (your master copy), then export the machine-specific format you actually need for stitching.
-
Test stitch before anything else. Run the design on a scrap of the same fabric and stabilizer you’ll use for the real project. Watch for puckering, thread breaks, or registration drift, then adjust density, pull compensation, or tension and re-export.
Auto-digitize features have gotten better, but they still handle complex artwork inconsistently, export reliability varies significantly by software package, which is exactly why step six isn’t optional.
Fixing Compatibility Problems Before They Ruin a Project
Most embroidery format headaches trace back to one of three culprits: version mismatches, memory or hoop limits, and missing color data. Diagnosing which one you’re dealing with usually takes less time than the failed stitch-out did.
Version and hoop mismatches show up when a machine either refuses to load a file or loads it but displays the wrong hoop size. Check your machine’s manual for the exact format revision it supports. Older machines often choke on files saved from current software even when the extension matches, because the software added features the machine’s firmware predates.
Memory and hoop-size limits become a problem with dense, multi-color designs on older or entry-level machines. If a file won’t load or your machine throws a memory error, look at splitting the design into sections that stitch separately, or reduce the overall stitch count by simplifying fill areas. Confirm the design’s physical dimensions fit your hoop before you resize anything in a stitch-based format.
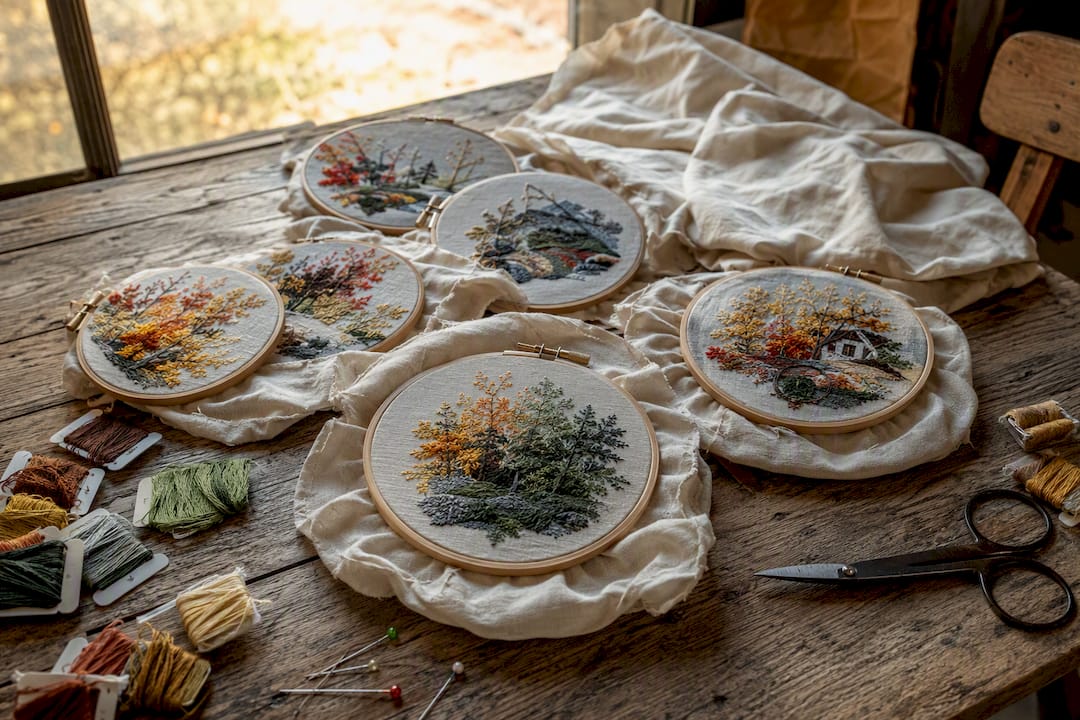
Color mapping problems happen most often after converting a hybrid file to an expanded one, since the color data simply isn’t there to carry over. Reopen the original hybrid or native file, note the color sequence in order, and manually re-enter that sequence into your machine’s software or your embroidery card system before stitching. Keeping a written or photographed color chart with every native file saves you from re-guessing this every time.
Choosing Digitizing Software and Conversion Tools
Software choice comes down to how much control you need and how often you’re converting formats. The tiers break down fairly cleanly:
- Professional suites (Wilcom, Hatch, Embrilliance) handle the widest range of exports and give you full manual control over stitch types, underlay, and density. These are what commercial digitizers use because they reliably output to nearly every format on the market, native and machine alike.
- Mid-level tools (PE-Design, StitchPilot) cover most home and small-shop needs, with solid auto-digitize features that work well on simple logos and lettering but need manual cleanup on detailed artwork.
- Free tools like Ink/Stitch, an open-source extension that reads and writes several common embroidery formats, are a legitimate starting point if you’re testing the waters before investing in paid software.
Auto-digitize, across every tier, still struggles with fine detail, small text, and photographic gradients. It’s a starting point you refine, not a finished product you export blind.
If a design is going into commercial production, or the client’s fabric and deadline don’t leave room for trial and error, hiring a professional digitizer or using a paid conversion service is usually cheaper than the stitched-out shirts you’d otherwise scrap. A Singer Quantum Futura software package gives home embroiderers a middle path: enough control to convert and edit your own artwork without the learning curve of a full professional suite.
What Separates a Reliable Shop From a Guessing Game
Every shop that stitches consistently, whether it’s a solo hobbyist or a five-head commercial operation, runs the same non-negotiable step before production: the test stitch. A test stitch on the actual fabric confirms tension, density, and thread compensation in a way that no on-screen preview can. Skipping it to save fifteen minutes is how you end up re-stitching an entire order.
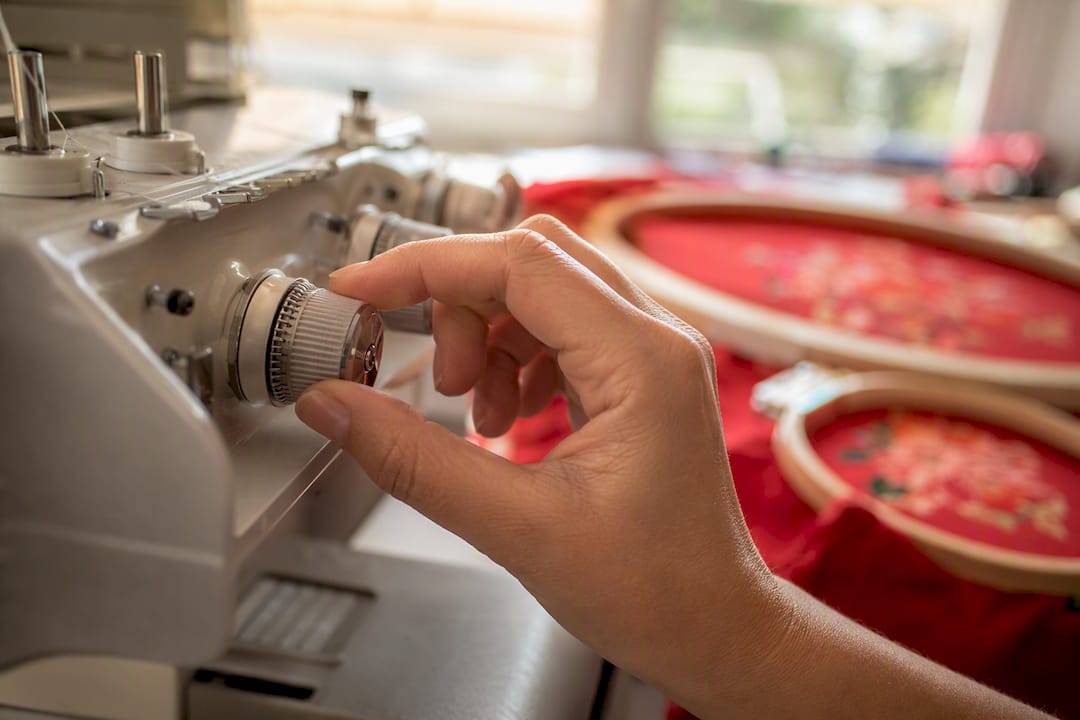
Pair that test stitch with a written production notes sheet, needle size, stabilizer type, thread brand, tension setting, and any density adjustments you made. That sheet is what lets you (or anyone else in your shop) reproduce a job exactly six months later instead of reverse-engineering it from memory.
Keep your native editable files. Keep a copy of the exported machine file you actually stitched. When a client calls asking for a reorder or a size change, that pairing is the difference between a five-minute turnaround and starting from scratch. And when you’re moving files between shops or machines you don’t control, DST remains the safest exchange format, even knowing you’ll re-map colors on the other end.
Get the Machines and Software That Match Your Workflow
Format compatibility only matters if your equipment can actually run the files you’re producing, and that’s where Sewingmachinesplus fills the gap between “I understand file formats” and “I’m stitching clean production runs.” The Baby Lock Sewing Machine Embellisher EMB7 reads native machine formats without the version headaches older units run into, and pairing it with software like the Singer Quantum Futura gives you a full path from artwork to stitched design under one workflow. Sewingmachinesplus backs every machine purchase with expert consultations on format compatibility, so you’re not guessing which extension your new machine actually needs. Browse the full lineup of embroidery-ready machines and software and get a compatibility check before you buy.
Sources
- Embroidery file format | emborado glossary
- DST vs PES vs VP3: Which Embroidery File Format Do You Need? | Risedigitizing
- Stitchpilot
- How to convert an image to embroidery data - Brother Support
FAQ
What file format is best for embroidery?
There’s no single best format. Use your machine’s native format (PES, VP3, JEF) for everyday stitching, and use DST when you need a file that works across different machine brands.
Is PES or DST better?
Neither is universally better. PES carries color and hoop metadata that DST lacks, but DST’s simplicity makes it more widely accepted across commercial and multi-brand machines.
How do I turn a JPEG into an embroidery file?
Import the JPEG into digitizing software, simplify its colors and shapes, map stitch types and underlay, then export to your machine’s format and run a test stitch. Low-resolution or gradient-heavy JPEGs convert less predictably than vector artwork or flat-color PNGs.
Can I convert an embroidery file back to its original editable design?
Not fully. Once a native file is exported to a machine or expanded format, the underlying vector shapes and layers are gone, and converting it back only recovers stitch points, not the original design structure.
Do I need different software for different embroidery machine brands?
Not necessarily. Many digitizing programs export to multiple machine formats, but check that your software supports your specific machine’s extension and firmware version before relying on it for production.
