

Use cut-away stabilizer for stretchy fabrics and dense designs, tear-away for stable woven fabrics, and wash-away for freestanding lace or as a topper over pile fabrics. Reach for heat-away or adhesive/fusible stabilizers when you’re working with non-washable items or fabric that’s tricky to hoop.
- Match stabilizer weight to fabric weight and stitch density, not habit.
- Two lighter layers often outperform one heavy layer when a design gets dense.
The correct stabilizer choice prevents most common stitch problems before you even start sewing — which is why experienced embroiderers treat it as the real foundation of a clean design, not an afterthought you grab on the way to the hoop.
Key Takeaways
The right embroidery stabilizer choice depends on matching fabric behavior and stitch density to one of four families: cut-away, tear-away, wash-away, or heat-away.
| Point | Details |
|---|---|
| Cut-away for stretch | Use permanent cut-away on knits and dense designs so support lasts through washing. |
| Tear-away for stable wovens | Reserve tear-away for non-stretch fabric like cotton or canvas where clean removal matters. |
| Wash-away for lace and toppers | Use wash-away film for freestanding lace and mesh toppers on pile fabrics like fleece or minky. |
| Layer instead of overloading | Two lighter stabilizers often support dense designs better than one heavy sheet. |
| Build a starter kit | Sewingmachinesplus stocks medium cut-away, tear-away, and topper stabilizer plus adhesives and finishing tools in one order. |
Table of Contents
- What Are the Main Embroidery Stabilizer Types and Why Do They Matter?
- The Four Stabilizer Families: Cut-Away, Tear-Away, Wash-Away, and Heat-Away
- When Do You Need a Topper or Adhesive Stabilizer?
- How Do You Choose the Right Stabilizer Every Time?
- Fixing Puckering, Show-Through, and Removal Mistakes
- What Should Be in Your Stabilizer Starter Kit?
- A Stitcher’s Take on Stabilizer Shortcuts
- Get Your Stabilizer Kit Right the First Time
- Sources
- FAQ
What Are the Main Embroidery Stabilizer Types and Why Do They Matter?
Stabilizer exists to hold fabric still while thousands of needle penetrations pull, tug, and stretch it in different directions. Skip it, or pick the wrong one, and you get puckering, registration drift (where colors or elements shift out of alignment), or stitches that look distorted the moment the hoop comes off.
Fabric behavior drives most of the decision. A stretchy knit moves under the needle in ways a stable woven never will, so it needs backing that stays put permanently. A loosely woven fabric can shift during stitching if the stabilizer isn’t secure enough at the hoop’s edges. Pile fabrics like fleece or terry cloth swallow stitches into their nap unless something holds the loops down from the top.
Permanence matters just as much as material. A stabilizer meant to stay in the garment forever needs to be soft enough not to bother the wearer, while one meant to come out needs to release cleanly without dragging on your stitches.
- Puckering usually traces back to stabilizer that’s too light for the fabric or design.
- Registration drift often means the hoop wasn’t tight enough, or the stabilizer shifted mid stitch.
- Stitch distortion on knits almost always means cut-away support was skipped.
The Four Stabilizer Families: Cut-Away, Tear-Away, Wash-Away, and Heat-Away
Every stabilizer on the market falls into one of four removal categories, and each one solves a different structural problem.
Cut-away stabilizer
Cut-away is the workhorse for anything with stretch. Because it stays permanently stitched into the fabric after you trim the excess, it keeps supporting the design through years of washing and wearing. Cut-away is essentially non-negotiable for knits and stretch fabrics carrying dense designs, since tear-away simply can’t hold up to repeated stretching without the stitches eventually distorting.
You’ll find it in three main forms:
- No-show mesh: lightweight and semi-transparent, ideal for light knit garments where you don’t want backing visible through thin fabric.
- Nonwoven cut-away: the standard choice for t-shirts, polos, and most knit apparel.
- Woven cut-away: denser and more stable, used for heavy or structured knit goods.
Medium weight cut-away, around 2.0 ounces, handles most t-shirts and everyday knits without adding noticeable bulk. Sweatshirts and heavier fleece typically need a step up to a heavier weight in that 2.0 to 2.5 ounce range. After stitching, trim close to the design with sharp, curved scissors so you don’t nick the stitches. A pair like the Gingher double-curved embroidery scissors makes that trim far cleaner than a standard pair of shears.
Tear-away stabilizer
Tear-away is the temporary counterpart, and it’s the right call for stable, non-stretch wovens like quilting cotton, denim, or canvas. Tear-away works best on stable fabrics because it’s designed to be removed after stitching, not to provide lasting support, so it has no business under a stretch knit carrying a dense design.
It comes in a range of weights:
- Soft tear-away: for delicate wovens and light designs.
- Standard tear-away: the default for medium-weight cotton and linen.
- Cap-back or heavy tear-away: reinforced for curved surfaces like caps and structured bags.
To remove it cleanly, hold the fabric taut close to the stitching line and tear in small sections, pulling away from the design rather than toward it. Pulling too fast or from the wrong angle can distort delicate stitch elements, especially satin columns.
Wash-away stabilizer
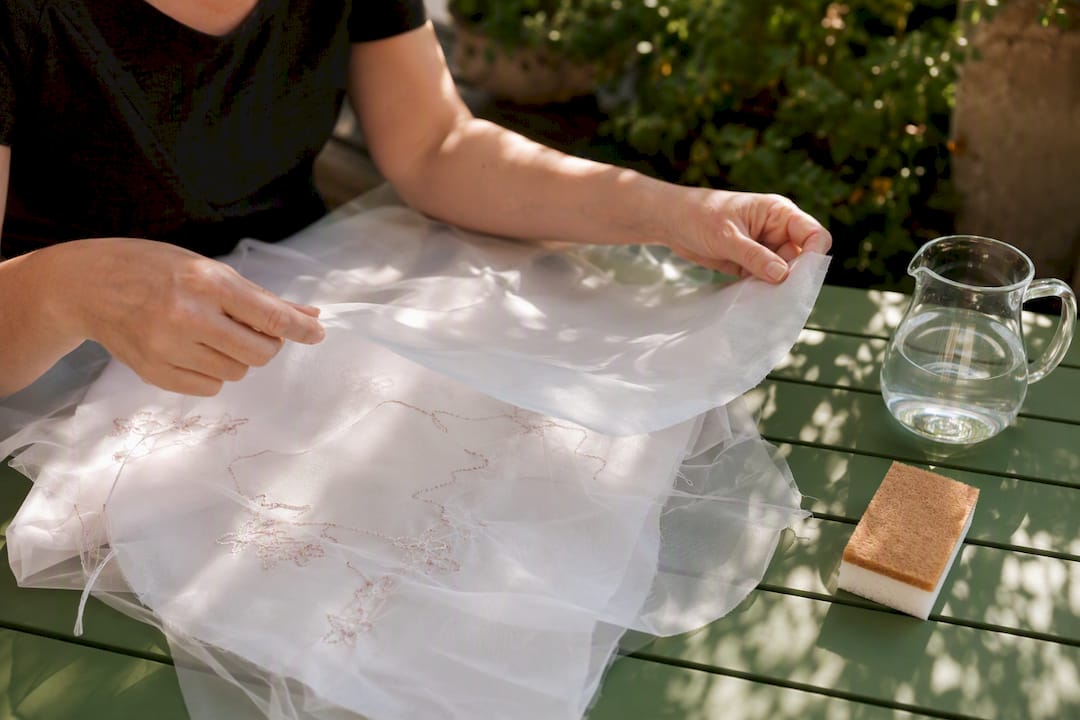
Wash-away dissolves completely in water, which makes it the only real option for freestanding lace and the best choice as a topper on textured fabric. Film versions are heavier and used for freestanding lace, while mesh and water-soluble web forms are softer and suited to delicate fabrics or as toppers. Because it leaves zero residue, it’s also the go-to for sheer fabrics like organza or tulle, where any leftover fiber would show right through.
Heat-away stabilizer
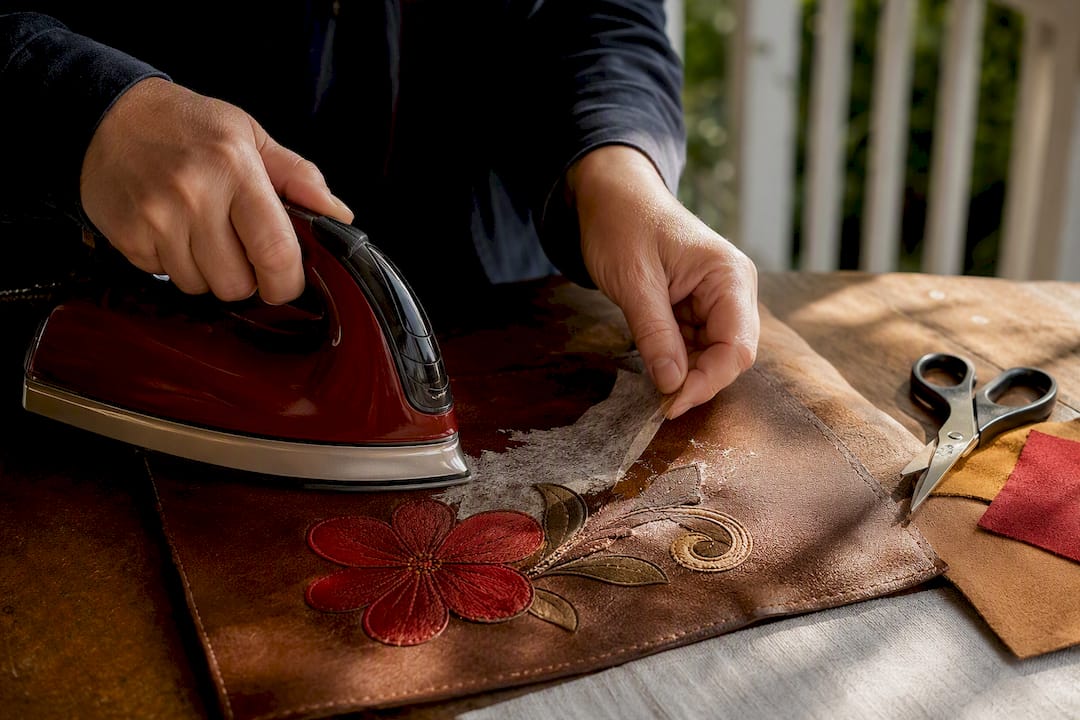
Heat-away is the niche player, removed with an iron rather than water. It’s most useful on non-washable items or mixed-media projects where dissolving stabilizer with water simply isn’t an option, such as leather appliqué or projects combining fabric with non-washable trims. It’s not something you’ll reach for often, but when wash-away is off the table, it’s often the only workable substitute.
Pro Tip: *Keep one roll of medium cut-away, one roll of medium tear-away, and one roll of water-soluble topper on hand at all times.
A word on pitfalls: stabilizer that’s too light causes show-through and puckering; stabilizer that’s too heavy adds stiffness a wearer will actually feel against their skin. Both mistakes are avoidable with a quick swatch test before you commit to the real fabric.
When Do You Need a Topper or Adhesive Stabilizer?
Some fabrics fight you no matter which backing family you choose, and that’s where toppers and adhesive stabilizers earn their keep.
Toppers are thin, water-soluble sheets placed on top of the fabric, under the needle, rather than underneath it. Wash-away toppers keep stitches from sinking into fabric with a raised surface, which is essential on towels, fleece, minky, and velvet. Without one, loops and satin stitches on those fabrics disappear into the nap and the finished design looks fuzzy and undefined instead of crisp.
Adhesive and fusible stabilizers solve a different problem: fabric that’s awkward or impossible to hoop. Small parts like collars, cuffs, and pockets often can’t sit in a standard hoop without bunching. Instead, you hoop the adhesive stabilizer alone, then press or stick the fabric piece directly onto its tacky surface.
- Spray adhesives like 5O5 Spray and Fix let you temporarily bond fabric to a hooped stabilizer without stitching through a fused layer.
- Use release paper over adhesive stabilizer when it’s not in use to keep tackiness from picking up lint and dust.
- Avoid pressing fusible stabilizer with too much heat, which can leave a stiff residue that shows through lightweight fabric.
Pro Tip: If adhesive residue builds up on your needle, wipe it with rubbing alcohol between colors rather than pushing through. A gummed-up needle causes skipped stitches long before it snaps.
How Do You Choose the Right Stabilizer Every Time?
Run through four questions before you hoop anything, and the right stabilizer stops being a guessing game.
First, identify how the fabric behaves. Does it stretch? Does it have a pile or nap? Is it sheer? Is it leather, vinyl, or another non-porous material? Each answer points toward a different family before you even think about weight.
Second, estimate your design’s stitch density. A light monogram behaves very differently under the needle than a dense, filled logo. Manufacturers consistently map heavier fabric and denser designs to heavier stabilizer, or to two lighter stabilizers layered together rather than one heavy sheet, because layering distributes support more evenly than a single stiff backing.
Third, pick the family and weight together, not one before the other. A light knit with a dense design might need medium cut-away layered with a second lighter sheet, not a jump straight to heavy.
Fourth, decide whether you’re hooping or floating. Professionals generally prefer hooping both fabric and stabilizer together when possible, floating an extra layer only when the piece is too small or awkward to hoop directly, since floating raises the risk of shifting mid-design.
A few rules of thumb cover most everyday decisions:
| Fabric behavior | Design density | Recommended approach |
|---|---|---|
| Stretchy knit | Light to medium | Medium cut-away, hooped with fabric |
| Stretchy knit | Heavy/dense | Heavy cut-away or two layered lighter cut-aways |
| Stable woven (cotton, canvas) | Light to medium | Medium tear-away, hooped |
| Pile fabric (fleece, terry, minky) | Any | Cut-away backing plus wash-away topper |
| Sheer fabric (organza, tulle) | Light | Wash-away film or mesh, hooped with fabric |
| Non-washable or mixed media | Any | Heat-away stabilizer |
Fixing Puckering, Show-Through, and Removal Mistakes
Most stabilizer problems have a short list of causes, and troubleshooting them follows the same order every time.
- Check hoop tension first. A loose hoop lets fabric shift, which shows up as puckering or misaligned elements even with the right stabilizer.
- Reassess stabilizer weight. If puckering persists, increasing stabilizer weight or adding a second layer is the most reliable fix, ahead of touching your machine’s tension settings.
- Adjust needle and tension only after ruling out hooping and stabilizer as the cause.
- Remove stabilizer correctly. Tear tear-away in small sections close to the stitching; trim cut-away with curved scissors, leaving a small margin rather than cutting flush.
- Finish clean. Rinse wash-away completely under warm water, let it dry flat, and use seam tape over cut-away edges on garments if the trimmed edge feels stiff against skin.
Pro Tip: If a design still puckers after switching to a heavier stabilizer, the culprit is often stitch density in the design file itself, not the stabilizer. Some designs are simply too dense for the fabric they’re stitched on.
What Should Be in Your Stabilizer Starter Kit?
A well-stocked embroidery station doesn’t need every product on the shelf. It needs the right handful, chosen to cover the projects you’ll actually stitch.
Start with three items: a roll of medium cut-away for knit apparel, a roll of medium tear-away for stable wovens, and a water-soluble topper for anything with texture. That combination handles the overwhelming majority of hobbyist projects, from t-shirts to tote bags to towels.
Round it out with a few accessories that make a real difference at the machine:
- Temporary spray adhesive for hooping small or awkward pieces without stitching through fused layers.
- A dedicated pair of curved embroidery scissors, kept sharp and used for nothing else.
- Fresh embroidery needles, since a dull or damaged needle causes more stitch problems than most people suspect.
- Quality thread suited to your fabric weight, since heavier thread on lightweight fabric compounds stabilizer problems rather than fixing them.
Sewingmachinesplus stocks stabilizer, adhesives, and finishing tools alongside the machines themselves, which matters when you’re trying to match weight and brand consistently across a project rather than guessing at a compatible substitute.
A Stitcher’s Take on Stabilizer Shortcuts
Most guidance treats stabilizer selection like a fixed formula, and most of the time it is. But experienced stitchers keep a shortlist that overrides the standard rules more often than beginners expect. My go-to combination is medium cut-away and a water-soluble topper. That pair handles a surprising range of fabrics, even some that the standard chart would point toward tear-away.
The rule I actually follow: when in doubt, hoop with cut-away and topper, and save tear-away for fabric I’m already confident is stable and non-stretch. I still run a swatch test whenever I’m working with an unfamiliar fabric blend or a design denser than anything I’ve stitched on that material before. The five minutes a test swatch takes is nothing compared to redoing a finished project because the backing was wrong.
Get Your Stabilizer Kit Right the First Time
Guessing at stabilizer weight from a half-empty roll in a drawer is how most puckering problems start. Sewingmachinesplus keeps a full range of cut-away, tear-away, and wash-away stabilizers in stock, along with adhesives and finishing tools like 5O5 Spray and Fix and the Gingher curved embroidery scissors, so you can build a starter kit in one order instead of piecing it together from three different sources. Orders over $49 ship free, and the price match guarantee means you’re not overpaying to get name-brand stabilizer delivered fast.
If you’re also weighing an equipment upgrade for denser designs, a machine like the Baby Lock EMB7 embellisher pairs well with heavier cut-away work. Search “embroidery stabilizer” or “cut-away stabilizer” on the Sewingmachinesplus site to pull up current stock, or reach out for a personalized consultation if you’re not sure which weight fits your next project.
Sources
- Machine Embroidery Stabilizer Guide (2026): Types, Weights & Fabric Matching | Embroidize
- Embroidery Stabilizer Guide: Types And Uses - Sewing With Ease
- Best Stabilizer for Embroidery by Fabric Type | Embroidery Machine Hub
- Stabilizer guide (Needle Down) — fabric/design weight rules
- How to Choose Machine Embroidery Stabilizers - Sewing With Nancy
FAQ
What is the best stabilizer for machine embroidery on t-shirts?
Medium weight cut-away, around 2.0 ounces, is the standard choice for t-shirts and most knit apparel because it stays permanently in the fabric and supports the design through repeated washing.
What’s the difference between tear-away and cut-away stabilizer?
Tear-away is temporary and removed after stitching, making it suited to stable woven fabrics, while cut-away stays permanently in place and is required for stretchy knits and dense designs.
When should I use a wash-away stabilizer instead of tear-away?
Use wash-away for freestanding lace, sheer fabrics, or as a topper over pile fabrics like towels and fleece, since it dissolves completely without leaving residue that tear-away can’t guarantee.
Do I need a topper if I’m already using cut-away backing?
Yes, on textured fabrics. Cut-away supports the fabric from underneath, but a wash-away topper is what keeps stitches from sinking into pile or nap on fabrics like minky and terry cloth.
How do I know what stabilizer weight to buy?
Match weight to fabric weight and design density: light designs on light fabric need light stabilizer, while heavier fabric or denser designs need heavier stabilizer or two layered lighter sheets, available in starter quantities from Sewingmachinesplus.
