

Unplug the machine, remove the needle plate, clean out the lint around the bobbin area, then apply one drop of clear sewing machine oil to each metal-on-metal contact point and turn the handwheel by hand to spread it. That single sequence solves the majority of squeaks, stiff handwheels, and rough stitching that home sewers deal with, according to Brother’s own oiling guidance.
Before you touch the oil bottle, run through this:
- Power off and unplug the machine completely.
- Remove the needle, presser foot, and bobbin case.
- Brush out lint from the bobbin race and feed dog area.
- Apply a small amount of oil at each point your manual specifies, avoiding excess.
- Rotate the handwheel toward you several times to work the oil in.
- Wipe excess oil with a cloth, then test on scrap fabric before sewing anything real.
Never reach for WD-40, motor oil, cooking oil, or any household lubricant. Only clear, purpose-made sewing machine oil (a light mineral oil) belongs anywhere near the internal mechanism.
Key Takeaways
Regular oiling with clear sewing machine oil, done after a thorough cleaning and applied one drop at a time, keeps most home machines running quietly for years.
| Point | Details |
|---|---|
| Clean before oiling | Remove lint from the bobbin area and hook first, since lint mixed with oil causes gumming. |
| Use one drop per point | Apply 1 to 3 drops of clear sewing machine oil at each metal-on-metal contact point, never more. |
| Skip household lubricants | Avoid WD-40, motor oil, cooking oil, and fragranced oils, which gum up or damage the mechanism. |
| Match frequency to use | Heavy sewing needs oiling roughly every 6 to 8 hours; occasional use every 2 to 4 months. |
| Get supplies from Sewingmachinesplus | Purpose-made oil, lint brushes, and screwdrivers are available through Sewingmachinesplus along with service referrals. |
Table of Contents
- How Do You Oil a Sewing Machine Step by Step?
- Where Do You Put Oil on a Sewing Machine?
- What Kind of Oil Should You Use on a Sewing Machine?
- How Often Should You Oil a Sewing Machine?
- What Should You Do If Oiling Causes New Problems?
- When Should You Call a Sewing Machine Technician?
- Sources
- FAQ
How Do You Oil a Sewing Machine Step by Step?
Oiling a sewing machine is a four-part job: prepare, clean, oil, test. Skip the cleaning step and you’re just mixing fresh oil with old lint, which is exactly how gummy buildup happens.
Preparation comes first, every time. Unplug the machine and disconnect the foot pedal. Remove the needle and presser foot, then take off the throat plate (also called the needle plate) if your model requires it for access to the bobbin area.
Cleaning matters more than most sewers realize. Remove the bobbin and bobbin case, then brush out lint from the bobbin race, feed dogs, and hook assembly. A soft lint brush works well; a vacuum attachment on low suction is fine too. Skip compressed air unless your manual specifically recommends it, since a strong burst can push lint deeper into the mechanism instead of out.
Oiling is where precision counts. Look for shiny metal surfaces where parts rub together: this is where oil belongs. Apply one drop, per the NMSU Extension’s oiling guidance, which notes that one drop per point is typically enough on home machines. Skip anything made of plastic. Once oil is applied at each point, turn the handwheel slowly by hand, not with the motor, so the oil distributes evenly through the mechanism rather than sitting in one spot.
- Replace the bobbin case and needle plate.
- Reinsert the needle and presser foot.
- Plug the machine back in only after wiping away visible excess oil.
- Sew a few inches on scrap fabric.
- Check the fabric and machine bed for oil marks; wipe and repeat the test until the scrap comes out clean.
A few pitfalls trip up otherwise careful sewers. Over-oiling is the most common mistake, and it stains fabric and attracts lint faster than under-oiling ever will. Don’t power up the machine while oil is still visible on any surface.
Pro Tip: Use a long, thin applicator tip (most sewing machine oil bottles come with one) and rotate the handwheel toward you as you apply each drop. That motion pulls the oil into the moving parts instead of leaving it sitting on the surface.
Cleaning the bobbin area first isn’t optional prep work. Lint absorbs oil and speeds up gumming, according to guidance from SewingTrip’s maintenance research, which is exactly why a rushed oiling job tends to make noise problems worse within a few weeks.
Where Do You Put Oil on a Sewing Machine?
Most home machines share a handful of common oil points, even though exact locations shift slightly between brands and models.
- Bobbin race and hook assembly, the area beneath the needle plate where the bobbin sits and rotates.
- Needle bar shaft, the vertical rod that moves the needle up and down.
- Presser foot pivot point, where the foot lifts and lowers.
- Handwheel shaft, on the side of the machine.
- Any other visible metal-on-metal contact surface exposed once the needle plate is off.
To find these points, remove the needle plate and look for shiny, worn metal surfaces, sometimes marked with small oil holes. Your owner’s manual is the definitive guide here, since it shows exact oil points with diagrams specific to your model. Bernina’s own support documentation walks through model-specific oiling steps for its rotary hook systems, which differ from older oscillating hooks.
One important caveat: many modern computerized machines use sealed or self-lubricating bearings that need no user oiling at all. Forcing oil into a sealed component doesn’t help; it can void a warranty or throw off calibration.
What Kind of Oil Should You Use on a Sewing Machine?
Clear, purpose-made sewing machine oil, a light mineral oil formulated to resist gumming and staining, is the only lubricant that belongs in your machine. Sewing Machine Advice’s product research confirms that manufacturer-approved oil is resin-free and acid-free, which matters because both resin and acid content eventually gum up fine mechanisms.
Avoid this list entirely:
- WD-40: a penetrating solvent, not a lubricant. It evaporates and leaves residue behind.
- 3-in-1 oil or motor oil: too heavy, and they gum up over time.
- Cooking oils: they turn rancid and attract dust and lint.
- Fragranced baby oil: the additives leave residue on delicate parts.
Tri-Flow (PTFE) has a narrow, legitimate use: freeing up a stuck or gunked-up vintage machine as a one-time cleanup step. For ongoing lubrication, switch back to mineral sewing machine oil.
Discard any oil that’s turned cloudy or developed an odor. Old oil breaks down and stops doing its job long before the bottle looks empty.
How Often Should You Oil a Sewing Machine?
Oiling frequency tracks actual sewing hours, not the calendar. A quilter running the machine for long daily stretches needs oil roughly every 6 to 8 hours of active use, based on SewingTrip’s maintenance research. Occasional home sewers can often go every 2 to 4 months between oilings, and a monthly check is a sensible habit if you sew regularly.
Watch for these signs that oiling can’t wait for the next scheduled check:
- Grinding or squeaking sounds while sewing.
- A stiff or hard-to-turn handwheel.
- Skipped stitches that weren’t a problem before.
- Uneven fabric feeding.
- A rhythmic knocking noise from inside the machine.
Not every machine follows this schedule. Some models are sealed and never need user oiling, so check your owner’s manual before assuming your machine needs the same routine as an older mechanical one.
What Should You Do If Oiling Causes New Problems?
A few post-oiling hiccups are common, and nearly all of them trace back to too much oil or leftover lint.
- Oily marks on fabric: wipe the bed and hook area, then run scrap fabric until it comes out clean.
- Machine still noisy after oiling: re-clean the bobbin area for missed lint, then check that oil actually reached each contact point.
- Skipped stitches: check needle placement and thread tension, since cleaning sometimes shifts a loose needle.
If the handwheel feels stiff after oiling, unplug the machine and check for old gummed oil or trapped lint before assuming more oil will fix it. Adding oil on top of gummed residue only makes the problem worse.
If you see oil pooling anywhere inside the machine, don’t power it on. Remove the excess with a cloth and gentle vacuuming first, and reach for a brush rather than compressed air, which can drive lint deeper into the mechanism.
When Should You Call a Sewing Machine Technician?
Some symptoms are beyond what a drop of oil can fix. Loud, rhythmic knocking that continues after a full cleaning and oiling often points to dry internal parts that need professional attention, particularly on self-lubricating models where the noise signals something oil alone won’t solve, according to SewCanShe’s maintenance guide.
Other reasons to book a service visit:
- Broken or visibly bent internal parts.
- A sealed or computerized model where manual oiling risks voiding the warranty.
- Timing seems off, or the belt looks worn.
A professional service typically includes a hook and bearing inspection, a full degrease and re-oil, a timing check, and cleaning of internal assemblies you can’t easily reach at home. For brand-specific procedures, your owner’s manual or the manufacturer’s authorized service network is the right first call.
A Home Sewer’s Honest Take on Oiling
Oiling sounds more intimidating than it is. In practice, it’s cleaning plus one drop of oil per point, done carefully and tested on scrap fabric before you trust it with real work. Most of the anxiety around this task comes from not knowing where to look, not from any real technical difficulty. When something feels off after oiling, that’s usually lint you missed, not a sign you’ve broken anything. Follow the manual, and if a noise won’t quit, an authorized technician is one visit away.
Getting the Right Supplies for the Job
Doing this right starts with using the right tools, not just knowing the steps. Sewingmachinesplus carries purpose-made sewing machine oil alongside the small screwdrivers and lint brushes you’ll want on hand before you open up the needle plate, so you’re not improvising with whatever’s in the garage. If your machine is due for new bobbins while it’s already apart, a set of metal bobbins is worth grabbing at the same time. And if the noise doesn’t clear up after a proper cleaning and oiling, Sewingmachinesplus can point you toward an authorized service consultation rather than leaving you guessing. Check the full maintenance supplies selection before your next oiling session so you have everything ready in one trip.
Sources
- How to oil the machine
- What Type of Oil to Use on a Sewing Machine
- Sewing Machine Oil Change Frequency: How Often & What to Use
- Oiling and Lubricating the Machine (NMSU Extension publication)
- Oiling your machine - Support - BERNINA
FAQ
What Can You Use to Oil a Sewing Machine?
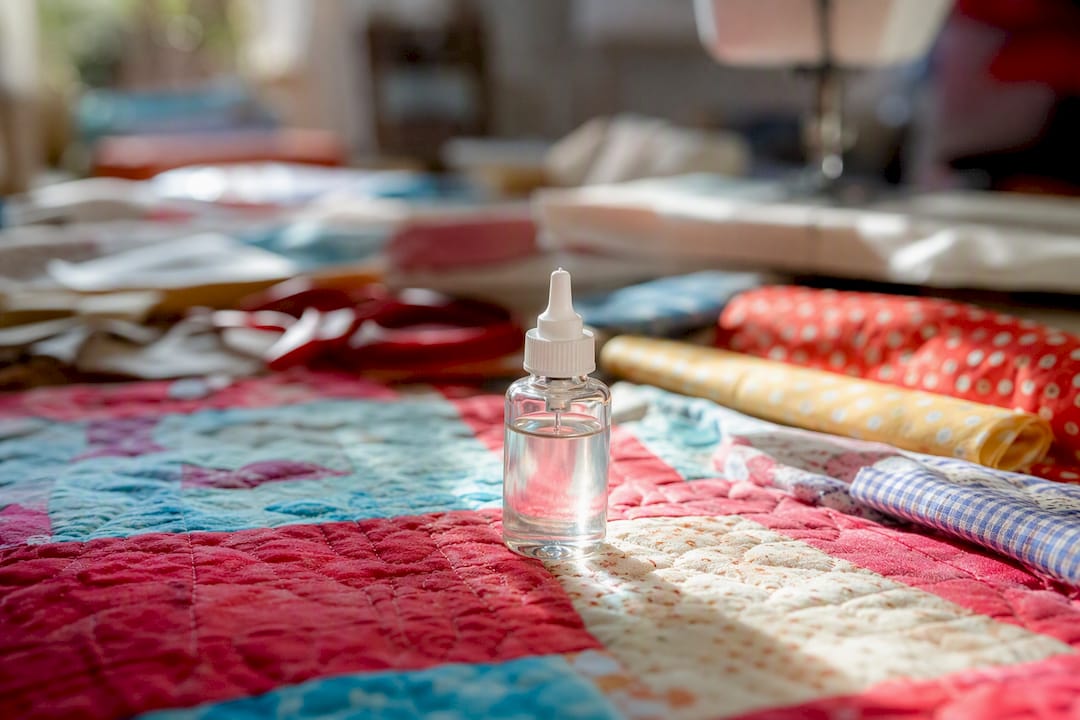
Use only clear, purpose-made sewing machine oil, a light mineral oil sold specifically for this purpose. It won’t gum up, stain fabric, or attract lint the way household oils do.
Can WD-40 Be Used to Oil a Sewing Machine?
No. WD-40 is a penetrating solvent, not a lubricant, and it evaporates while leaving residue that can damage fine mechanisms over time.
Are You Supposed to Oil Sewing Machines?
Most mechanical home machines need occasional oiling, but many modern computerized models have sealed, self-lubricating bearings that require no user oiling at all. Always check your owner’s manual first.
Where Do You Put the Oil in a Sewing Machine?
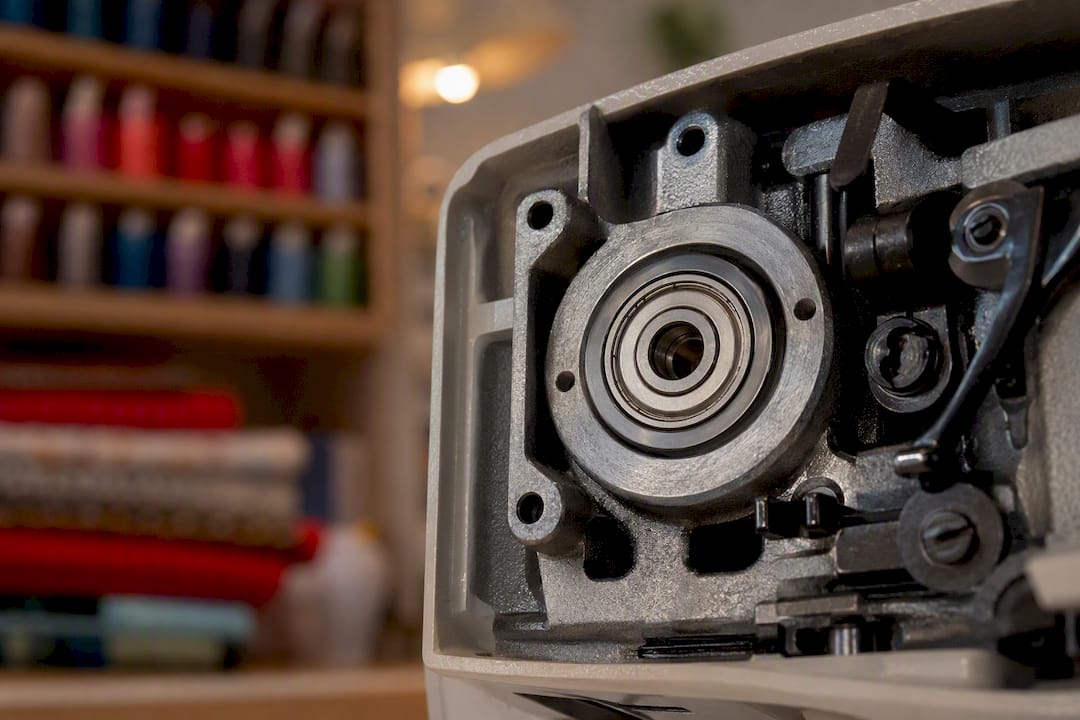
Oil goes at visible metal-on-metal contact points: the bobbin race and hook assembly, the needle bar shaft, the presser foot pivot, and the handwheel shaft. Remove the needle plate to access most of these points, and apply just one drop at each.
