

Presser feet are the task-specific attachments under your needle. They hold fabric flat, guide the seam, and control feed. The one thing that determines whether a foot works on your machine has nothing to do with price. It comes down to shank type and attachment style.
A presser foot holds fabric against the feed dogs as the machine stitches, and different tasks (zippers, buttonholes, quilting) need different foot designs to do that job well. Before you buy one, run through this checklist:
- Measure your shank. Check the distance from the mounting screw to the needle plate to confirm low, high, or slant shank.
- Confirm snap-on vs. screw-on. Most modern home machines snap on; older and industrial machines often screw on.
- Check needle alignment. Verify the needle drops centered through the foot’s slot or opening before you commit to a purchase.
Most home machines follow the industry-standard needle system 130/705H, and Sewingmachinesplus lists compatibility details on every presser foot product page so you’re not guessing.
Key Takeaways
Shank type and attachment style, not brand or price, determine whether a presser foot will actually fit your sewing machine.
| Point | Details |
|---|---|
| Measure before buying | Check shank height from the screw hole to the needle bed to confirm low, high, or slant shank. |
| Universal has limits | About 90% of home machines use low shank, but proprietary and industrial systems need brand-specific feet. |
| Underside finish matters | Smooth, coated soles prevent snagging and misfeeding that cheap generic kits often cause. |
| Start with the essentials | A starter kit plus a standalone walking foot and invisible zipper foot covers most early projects. |
| Buy from a fit-verified source | Sewingmachinesplus lists shank and brand compatibility on product pages and offers model-fit support before you order. |
Table of Contents
- Common Sewing Machine Presser Feet and What Each One Does
- How Do You Know Which Presser Foot Fits Your Machine?
- Are Sewing Machine Presser Feet Universal?
- What Should You Check Before Buying Presser Feet?
- Which Presser Feet Should You Buy First?
- How Do You Attach or Change a Presser Foot?
- How Much Should You Expect to Pay for Presser Feet?
- Why Fit Matters More Than the Foot Itself
- Ready to Shop for Presser Feet That Actually Fit
- Sources
- FAQ
Common Sewing Machine Presser Feet and What Each One Does
Not every foot belongs in every sewing basket, but a handful earn their keep across almost every project. Here’s a quick-reference rundown of the types of presser feet you’ll run into most often.
- Standard/zigzag foot: The default foot for straight stitching and general zigzag work. Comes with nearly every machine.
- Zipper foot: Narrow profile lets the needle stitch close to zipper teeth. Buy as a single if your kit doesn’t include one.
- Invisible zipper foot: Has two grooves that guide the zipper coil so the seam disappears. Worth owning separately for garment sewing.
- Buttonhole foot: Often includes a sliding template or automatic sensor for consistent buttonhole length.
- Walking (even-feed) foot: Feeds top and bottom fabric layers together, critical for quilting, vinyl, and slippery fabrics.
- 1/4" quilting foot: Marked or edged for precise quarter-inch seams, a piecing staple.
- Rolled hem/narrow hem foot: Curls fabric edges automatically for a clean, tiny hem on napkins, scarves, and ruffles.
- Overcasting/overedge foot: Guards against fraying on raw edges without a serger.
- Gathering foot: Ruffles fabric as it feeds, handy for skirts and home décor.
- Embroidery/darning/free-motion foot: Hovers slightly above the fabric so you can move it freely for monogramming or quilt stippling.
- Piping/cording foot: Grooved underside holds cord or piping snug against the seam line.
- Blind hem foot: Guide bar keeps stitches nearly invisible on hems for pants and skirts.
Kits make sense when you’re outfitting a new machine from scratch. Singles make more sense once you already own the basics and need one specific function, like an invisible zipper foot for garment work.
Pro Tip: If you’re only adding three specialty feet to a beginner setup, choose the walking foot, the 1/4" quilting foot, and the invisible zipper foot. Between them, they solve the three problems new sewers hit most: slipping fabric, crooked seam allowances, and visible zipper stitching.
How Do You Know Which Presser Foot Fits Your Machine?
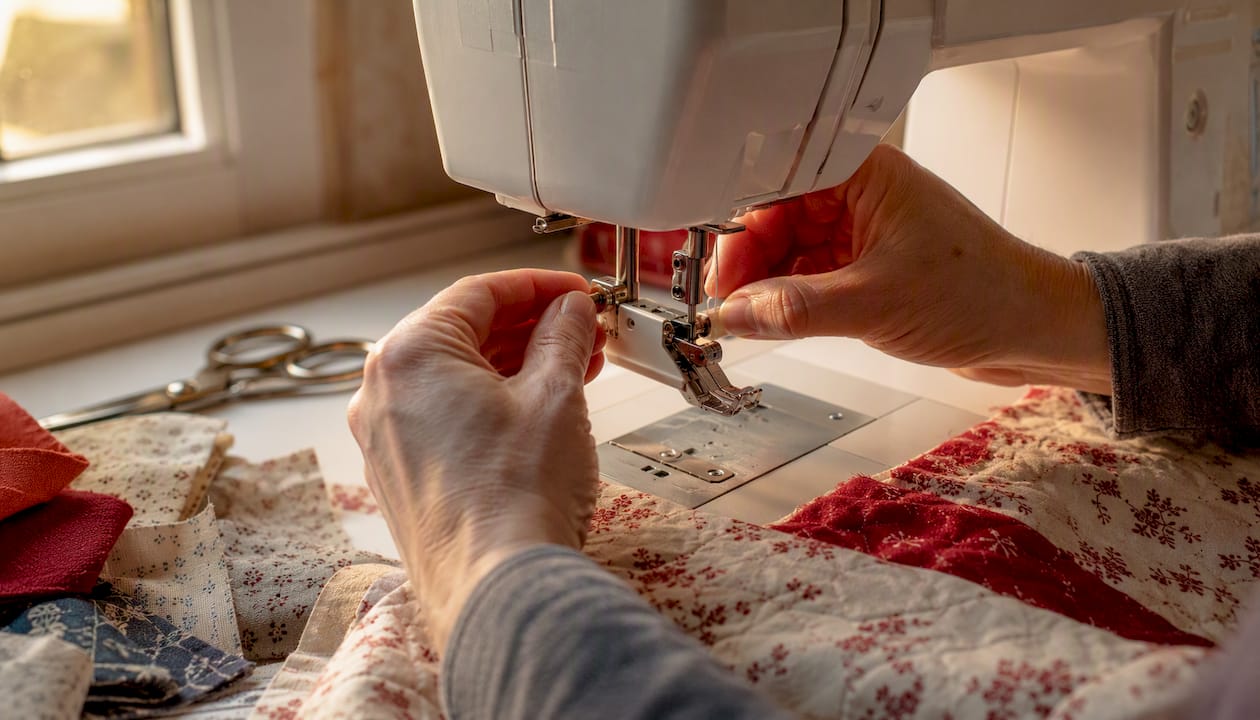
Shank height is the single measurement that determines fit, and it’s simple to check at home. Raise the presser bar, remove the current foot, and measure from the mounting screw hole down to the flat needle bed. Sewing Society’s fitting guide walks through this exact process, and it takes less than two minutes once you’ve done it once.
Home machines fall into a few predictable categories. Most modern domestic machines use a low shank. Older cabinet-style machines and some heavy-duty home models use a high shank. Slant-needle machines, mostly older Singer models, use their own geometry entirely. Bernina and a few other high-end brands use proprietary clip systems that don’t accept generic snap-on feet at all without an adapter.
| Shank type | Typical machine category | Attachment style |
|---|---|---|
| Low shank | Most home/domestic machines | Snap-on (most common) or screw-on |
| High shank | Heavy-duty home and some cabinet machines | Screw-on, occasional snap-on |
| Slant shank | Older slant-needle Singer models | Screw-on |
| Proprietary clip | Bernina and select high-end brands | Brand-specific clip, adapters sometimes available |
Snap-on feet click onto a spring-loaded holder and swap in seconds. Screw-on feet require loosening a small thumbscrew, positioning the foot, and tightening it back down. Sewing Society notes that adapters exist for some cross-compatibility, but screw-on systems generally have fewer adapter options than snap-on ones.
Pro Tip: Before ordering, pull up your machine’s manual (most manufacturers post PDFs online) and compare the shank photo against your own machine. A 30-second photo comparison saves you a return shipment.
Are Sewing Machine Presser Feet Universal?
No. The term “universal” only means compatible within a shank and attachment family, not across every brand and model. About 90% of home sewing machines use a low shank system, which is why generic snap-on kits fit a wide swath of domestic machines. That same statistic means one in ten machines, plus most industrial and Bernina-style proprietary systems, will not accept those same universal feet.
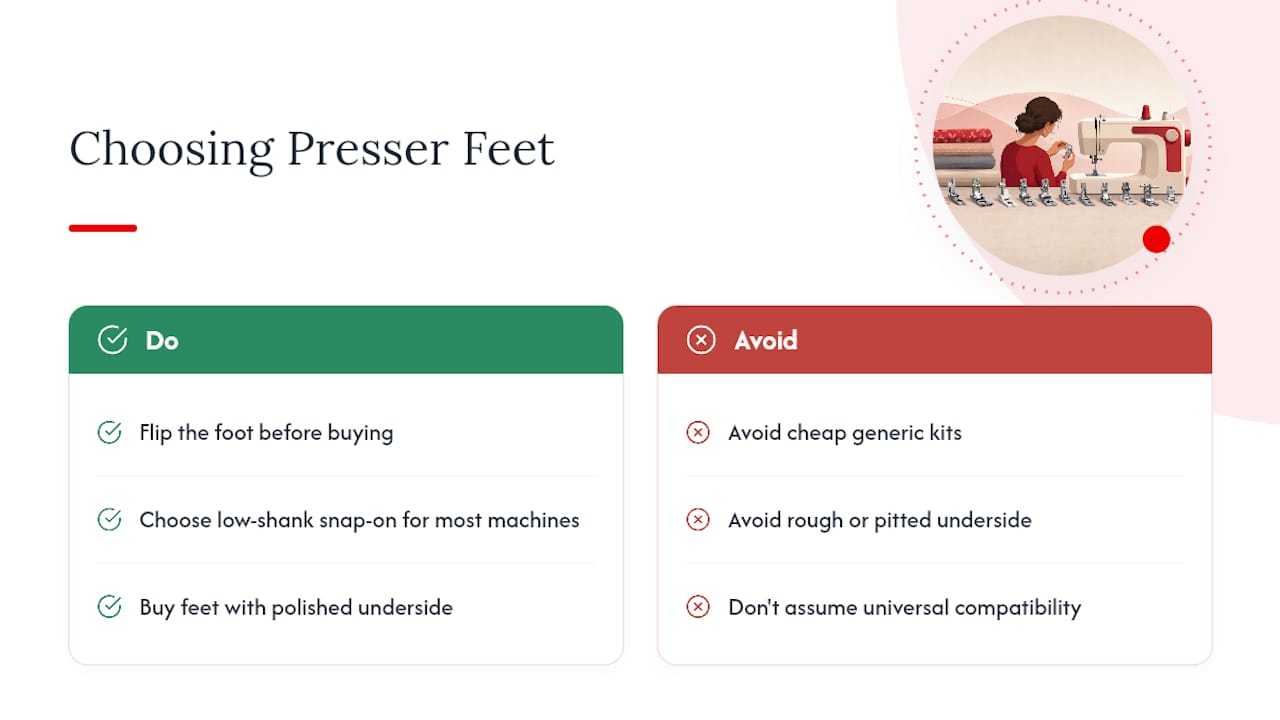
Cheap generic kits also fail in ways that have nothing to do with shank size. Sewing Mastery’s testing found that budget kits often skip the smooth underside coating genuine feet have, which causes friction, snagging, and uneven feed on fine or slippery fabrics Machines with IDT (Integrated Dual Feed) or similar built-in feeding systems are especially sensitive. Generic feet without correct tolerances can interfere with those mechanisms entirely.
Pro Tip: Flip the foot over before buying. A polished, smooth underside signals quality; a rough or pitted one is a red flag, especially if you own an IDT-equipped machine.
What Should You Check Before Buying Presser Feet?
A little diligence at checkout saves a lot of frustration later. Run through this list before you click “add to cart”:
- Shank and attachment type confirmed against your machine’s manual or a model lookup tool.
- Underside finish and material (smooth coated metal beats raw stamped metal for glide).
- Stitch-width opening wide enough for your machine’s zigzag range if the foot isn’t straight-stitch only.
- Return policy and warranty in case fit doesn’t match as expected.
- Customer reviews and photos showing the foot actually mounted on a comparable machine.
- A compatibility chart or model lookup on the product page itself.
Buy singles when you need one function you don’t already own; buy kits when you’re starting from zero and want broad coverage at a lower cost-per-foot. Save the splurge budget for the walking foot and any specialty feet tied to embroidery or quilting, since those do work generic feet can’t replicate well.
Pro Tip: A product page with underside photos and a model-fit chart is doing your compatibility homework for you. Trust those over a bare stock photo.
Which Presser Feet Should You Buy First?
A sensible starter kit covers standard/zigzag, zipper, invisible zipper, buttonhole, a 1/4" quilting foot, walking/even-feed, rolled hem, and blind hem. That combination handles garment construction, quilting basics, and hemming without leaving obvious gaps.
Three feet are worth buying as standalone purchases rather than settling for whatever ships in a generic kit:
- Walking/even-feed foot: The top-feed mechanism synchronizes with the feed dogs, which matters enormously on quilts, vinyl, and knits. The Singer Even Feed/Walking Foot and the Singer Walking Foot both cover this need at different price points.
- Invisible zipper foot: The ESG-IZF invisible zipper foot fits Baby Lock, Brother, Elna, Janome, and Singer machines, which makes it a safe cross-brand pick for garment sewers.
- 1/4" quilting foot: The Singer 1/4-inch Foot delivers the seam precision piecing demands.
Availability varies by model, so confirm fit against your specific machine before ordering. Pro Tip: Sewingmachinesplus’s customer service team can confirm foot compatibility by model number if a product page leaves you unsure. Ask before you buy, not after.
How Do You Attach or Change a Presser Foot?
Snap-on feet:
- Raise the presser bar and needle to their highest position.
- Press the release lever behind the foot holder to drop the old foot.
- Align the new foot’s pin under the holder’s notch.
- Lower the presser bar until it clicks into place.
- Turn the handwheel slowly by hand to confirm the needle clears the foot.
Screw-on feet:
- Loosen the thumbscrew and remove the old foot and holder if needed.
- Position the new foot against the shank.
- Tighten the screw firmly, but don’t overtighten.
- Lower the needle by hand to check clearance through the foot’s opening.
- Test on a scrap of fabric before starting your project.
Pro Tip: Keep a small screwdriver and a soft-bristle brush in your machine’s accessory kit. You’ll need the screwdriver for screw-on feet and the brush for clearing lint that builds up around the feed dogs.
How Much Should You Expect to Pay for Presser Feet?
Generic single feet typically run cheap, often just a few dollars each, and work fine for occasional use on common low-shank machines. Branded singles cost more but come with tighter tolerances and verified fit. Full kits bundle a dozen or more feet at a lower per-foot cost, which makes sense for a first-time buyer outfitting a new machine.
Splurge on the walking foot, any brand-specific foot required for a high-end or IDT-equipped machine, and non-stick or coated soles if you sew leather or vinyl regularly. A higher price is usually justified when the listing shows:
- Underside coating photos, not just a stock top-down shot.
- A stated brand warranty or guarantee.
- An explicit compatibility statement tied to your model.
- A working model lookup tool on the retailer’s site.
Why Fit Matters More Than the Foot Itself
I’ve watched enough sewing forums fill up with “why won’t this foot work” threads to know the pattern: almost every complaint traces back to a skipped fit check, not a bad foot. Sewingmachinesplus verifies compatibility details on its presser foot product pages precisely because that step gets skipped so often, and the store’s customer service team fields fit questions by model number rather than guesswork.
The inventory depth matters too. Having several walking foot options and multiple embroidery foot listings means you can match your budget and your machine instead of forcing a one-size-fits-all part onto a machine it was never built for. Check model fit first. Everything else is a lot easier once you’ve done that.
Ready to Shop for Presser Feet That Actually Fit
Big-box craft aisles sell generic multi-packs with no shank information printed anywhere on the box, which is exactly how so many sewers end up with a drawer full of feet that don’t fit anything. Sewingmachinesplus takes the opposite approach: every presser foot product page lists compatible shank types and machine brands upfront, so you know before checkout whether a foot will actually work on your machine.
Orders over $49 ship free, and the price match guarantee means you’re not overpaying for a brand-name foot you could find cheaper elsewhere. If a product page still leaves you uncertain about fit, reach out to support with your machine’s model number before you order. Start by browsing the full presser foot and accessories selection to find the right match for your machine.
Sources
- Everything You Need to Know About Sewing Machine Presser Feet — Sewing Society
- Are Sewing Machine Feet Universal? Compatibility Guide (2024) — SewingTrip
- 15 Types of Presser Feet & Their Uses — Seam Whisperer
- Can I Use Generic Presser Feet on My Sewing Machine? — Sewing Mastery
- Presser foot — Wikipedia
FAQ
Are sewing machine presser feet universal?
Not fully. About 90% of home machines share a low shank system, so many snap-on feet cross-fit, but Bernina-style proprietary systems and industrial machines need brand-specific feet or adapters.
What are the different presser feet for?
Each foot handles a specific task: zipper feet stitch close to zipper teeth, walking feet feed thick or slippery fabric evenly, buttonhole feet create consistent buttonholes, and quilting feet hold a precise quarter-inch seam.
What is the standard presser foot for sewing?
The standard or zigzag foot ships with nearly every machine and handles general straight and zigzag stitching for everyday sewing.
How do you identify which presser foot fits your machine?
Measure the shank height from the mounting screw to the needle bed, confirm whether your machine uses snap-on or screw-on attachment, and check your model against a compatibility chart or the manufacturer’s manual. Sewingmachinesplus product pages list this compatibility information directly, and customer service can confirm fit by model number if you’re unsure.
