

Use a walking foot for straight-line quilting, stitch-in-the-ditch, and any project where you need to feed multiple layers evenly. Set your stitch length to 3.0–3.5 mm, baste your quilt sandwich well, and follow a seam line or guide bar to keep your rows straight. That combination solves the two biggest headaches beginners run into: shifting layers and puckered backs.
Here’s your minimum setup before you stitch anything:
- Baste the quilt sandwich flat, checking for wrinkles on the backing
- Attach the walking foot until the fork arm seats over the needle clamp
- Set stitch length to 3.0–3.5 mm, longer than standard piecing
- Test on a scrap sandwich before touching your actual quilt
A walking foot synchronizes feed dogs on top of the fabric with the machine’s lower feed dogs, which keeps layers moving together instead of sliding apart. Skip it for free-motion work, decorative multi-direction stitches, or zippers. The foot’s whole strength is straight, controlled movement, not freeform maneuvering.
Key Takeaways
Walking foot quilting works best when basting, stitch length, and foot attachment are all dialed in before you start the main quilt.
| Point | Details |
|---|---|
| Match the tool to the task | Use a walking foot for straight lines and stitch-in-the-ditch, not free-motion or decorative stitching. |
| Baste before you stitch | Spray, pin, or hand-baste thoroughly to stop layers from shifting mid-quilt. |
| Set stitch length correctly | Start at 3.0–3.5 mm, longer for thick batting or decorative thread. |
| Test on scrap first | Check tension and stitch appearance on a basted scrap before quilting the real piece. |
| Buy the right fit | Sewingmachinesplus lists shank type and compatibility on every walking-foot product page. |
Table of Contents
- Preparing and Basting Your Quilt Sandwich
- How to Attach a Walking Foot to Your Machine
- How Do You Mark Straight Lines for Walking Foot Quilting?
- What Stitch Length Works Best for Walking Foot Quilting?
- Best Walking Foot Quilting Techniques for Beginners
- Fixing Common Walking Foot Problems
- Why I Reach for a Walking Foot First
- Where to Find a Compatible Walking Foot
- Sources
- FAQ
Preparing and Basting Your Quilt Sandwich
Basting decides whether your walking foot has any chance of feeding evenly. Skip this step or rush it, and you’ll fight puckers no matter how well you set up the machine.
Spray basting works fastest for smaller lap quilts and wall hangings, but it loses hold on bigger pieces that get handled a lot during quilting. Safety pins hold up better on bed-size quilts, placed every 4 to 6 inches, though they slow you down and can snag threads if you’re not careful. Hand basting with long stitches takes the most time but gives you the most control over stubborn spots where fabric wants to bunch.
- Lay your backing right-side down and tape or clip it flat first.
- Layer batting on top, smoothing from the center outward.
- Add your quilt top right-side up, again working from center out.
- Baste in a grid pattern, checking every few inches for trapped folds on the back.
For anything larger than a crib quilt, roll the excess fabric on either side and feed it through the machine’s throat space as you go, rather than letting yardage bunch up against the arm.
Pro Tip: Run your hand flat across the back of the basted sandwich before you quilt a single stitch. Any ridge or fold you feel now will show up as a pucker later, and it’s far easier to fix before you’ve committed thread to it.
How to Attach a Walking Foot to Your Machine
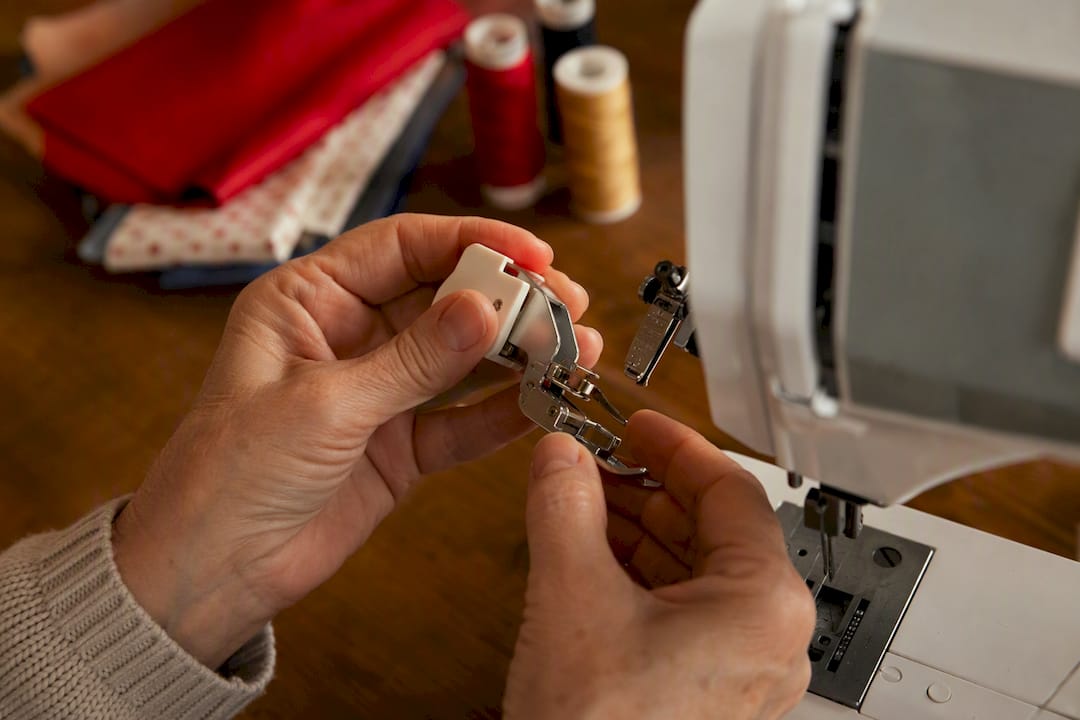
Getting the foot on correctly matters more than most beginners expect. The fork arm has to slide over the needle clamp screw so the foot’s internal feed dogs move in sync with the machine’s stitching motion. If that arm sits crooked or misses the screw entirely, the foot will bind or the needle will strike metal.
Shank type is the other variable to check before you buy or attach anything:
- Low-shank machines take the most common walking-foot style found on most domestic Singers and similar brands.
- Slant-shank machines need a foot built for that angle, like the Singer Even Feed Foot Slant Shank.
- Snap-on systems use an adapter shank rather than a screw mount, common on newer computerized machines.
Check your machine’s manual or the product page for a walking foot before buying, since a mismatched shank simply won’t seat. If you hear clacking once it’s on, that’s usually the fork arm sitting slightly off the clamp. Loosen the screw, reseat the arm, and tighten again. Binding or resistance when you turn the handwheel means the same fix applies.
How Do You Mark Straight Lines for Walking Foot Quilting?
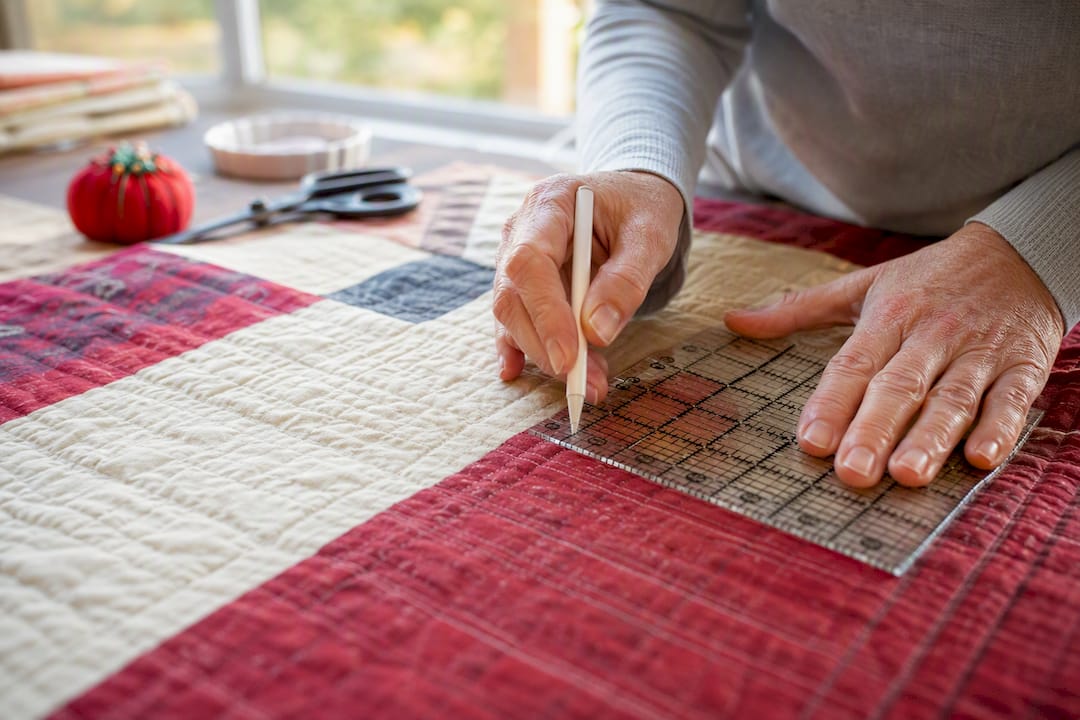
Most experienced quilters rely on the seam lines already in their quilt top rather than marking anything new. An open-toe walking foot with a guide bar attached lets you set a fixed distance from your previous stitched line and repeat it across the whole quilt without measuring twice.
- Seam lines: free, no removal needed, but only work for stitch-in-the-ditch
- Guide bar: fast and consistent, ideal for parallel grids and cross-hatching
- Painter’s tape: removable and visible, but slows you down on large pieces
- Water-soluble marking pens: good for curves, but test removal on scrap fabric first
Spacing works best when you treat your first line as the anchor and use the guide bar to echo out from there, rather than trying to eyeball even gaps across a whole quilt. When you hit a seam or need to pivot at a corner, stop with the needle down, lift the presser foot, and pivot the fabric before continuing. That needle-down pause is what keeps your line from jogging sideways.
Pro Tip: Stitch your first line down the vertical or horizontal center of the quilt, then work outward in both directions. Starting from an edge multiplies any drift by the time you reach the far side.
What Stitch Length Works Best for Walking Foot Quilting?
Standard piecing runs 2.0 to 2.5 mm, but that length is too short once you’re feeding three layers instead of two. Most guidance points to 3.0–4.0 mm for walking-foot quilting, with thicker battings or heavier threads pushing toward the higher end of that range.
Run this quick test before you touch your actual quilt:
- Baste a scrap sandwich using the same batting and backing you’ll use on the real quilt.
- Set stitch length to 3.0 mm and sew a few inches.
- Flip the scrap over and check the bobbin-side stitches for looping or tightness.
- Adjust top tension in small increments until both sides look even.
Testing on scrap first catches tension problems before they show up on a quilt you can’t easily unpick. If you’re using a decorative or heavier-weight thread, lean toward 3.5–4.0 mm. The longer stitch lets shiny or thick thread show its luster instead of crowding into a tight, closed line.
Best Walking Foot Quilting Techniques for Beginners
A handful of motifs cover most of what beginners actually need, and each one builds on the last.
Straight lines and cross-hatch grids are the easiest entry point. Start at the center, quilt outward using your guide bar, then rotate the quilt 90 degrees and repeat for a crossed grid pattern. Stitch-in-the-ditch comes next, using the seam itself as your path and a narrower foot plate for precision right along the seam line. Wavy or gently curved lines still work with a walking foot as long as the curves stay shallow. Feed slowly, guide with your hands rather than pushing, and keep spacing consistent by watching the distance from your last row.
- Quilt the center grid or ditch lines first to anchor the layers.
- Work outward toward the borders in even passes.
- Save binding and edge stitching for last, once the body is fully quilted.
- For borders, quilt in one continuous pass where possible to avoid stopping mid-seam.
- Keep both hands flat on the quilt ahead of the needle to guide feed, not force it.
Fixing Common Walking Foot Problems
Most issues trace back to one of four causes, and each has a direct fix.
- Puckering on the back: re-baste the area and check top tension before quilting further.
- Clacking or grinding noise: the foot isn’t seated correctly; loosen and reattach it over the needle clamp.
- Skipped stitches: switch to a quilting needle sized for your fabric weight, usually 90/14 for cotton battings.
- Uneven feed: press seams flat and add more basting pins in that section.
Walking feet aren’t built for free-motion work, dense decorative stitching, or zippers, since those tasks need the fabric to move independently of the feed dogs. If you don’t own a walking foot yet, extra basting and slower stitching can get you through a short straight run, though it’s a workaround rather than a real substitute.
Pro Tip: If puckering keeps showing up in the same spot on every quilt, check your presser foot pressure setting before blaming your basting. Some machines let you adjust it, and too much pressure flattens the top layer faster than the bottom one feeds.
Why I Reach for a Walking Foot First
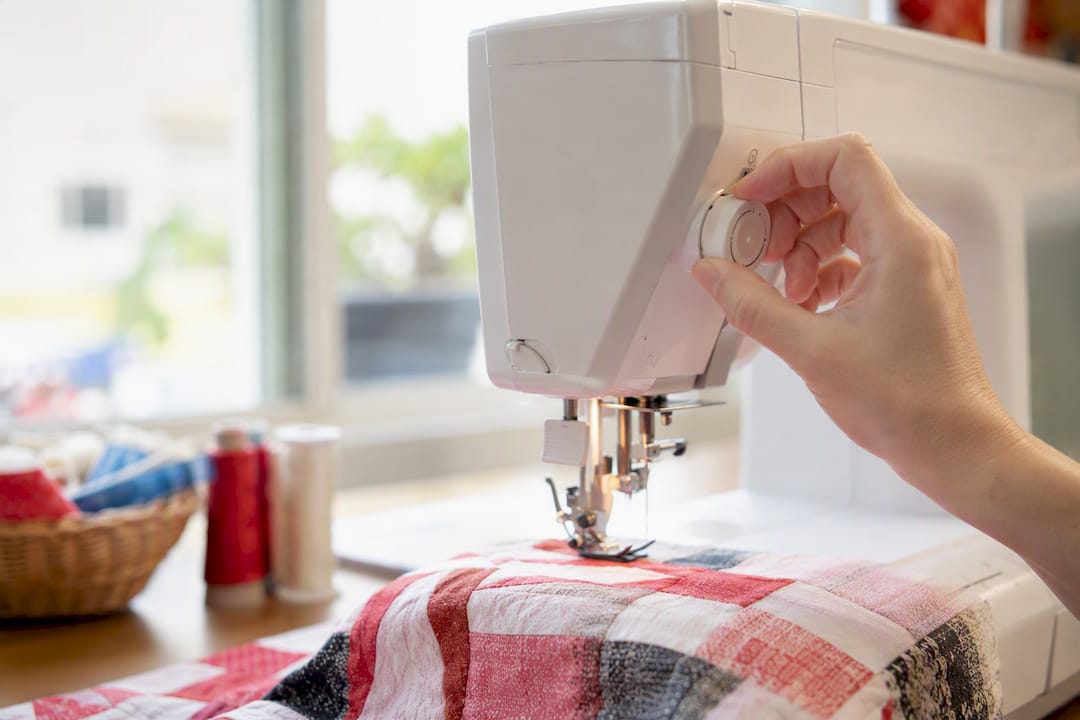
I default to a walking foot for any project with straight lines or ditch work, because consistent feed beats hand-guiding every time when precision matters. My habit before every quilt: reseat the foot, run one test line on scrap, and only then touch the real fabric. Sewing Machines Plus keeps compatibility notes and shank details on each walking foot product page, which saves you from guessing whether a foot fits your machine before you buy it.
— Chris
Where to Find a Compatible Walking Foot
Once you know your shank type, picking the right foot is mostly a matter of matching part numbers to your machine. Sewingmachinesplus carries a range of options, including the Singer Even Feed Walking Foot for low-shank machines and an open-toe foot for better visibility on straight-line and stitch-in-the-ditch work. Each product page lists shank type and fit details up front, so you can check compatibility before ordering instead of guessing from a photo.
If you’re not sure which foot matches your machine, Sewingmachinesplus offers personalized consultations to walk through fit and compatibility. Orders over $49 ship free, and every purchase is backed by a price match guarantee, so you’re not overpaying for a part you could find cheaper elsewhere. Start by browsing the full sewing and quilting accessories selection to compare foot styles side by side before you check out.
Sources
- 4 Sewing Machine Feet for Quilting – a Beginners Guide - Threads Monthly
- How to do Straight Line Quilting Using a Walking Foot
- Sewing Machine Feet for Machine Quilting - The Polka Dot Chair
- How to Use a Walking Foot (and When You Need One) - SewCanShe
FAQ
What Is the Difference Between a Walking Foot and a Quilting Foot?
A walking foot feeds the top fabric layer in sync with the machine’s feed dogs, keeping multiple layers moving together. A free-motion (quilting) foot lets you move the fabric freely with the feed dogs lowered, which suits curved or decorative designs rather than straight lines.
How Do You Quilt With a Walking Foot?
Baste your quilt sandwich, attach the walking foot so the fork arm seats over the needle clamp, and set your stitch length to 3.0–3.5 mm. Test on a scrap sandwich first, then quilt from the center outward using seam lines or a guide bar to keep rows straight.
What Is the Best Stitch Length for Walking Foot Quilting?
Most guidance recommends 3.0 to 4.0 mm for walking-foot quilting, longer than the 2.0–2.5 mm typical for piecing. Heavier or decorative thread often looks better toward the higher end of that range.
When Should You Not Use a Walking Foot?
Skip the walking foot for free-motion quilting, dense decorative stitching that moves in multiple directions, or zipper installation, since those tasks need the fabric to move independently of the feed dogs. It excels at straight lines, grids, and stitch-in-the-ditch work instead.
How Do I Check if a Walking Foot Fits My Machine?
Check whether your machine uses a low shank, slant shank, or snap-on system, since walking feet are built for specific shank types. Product pages at Sewingmachinesplus list shank compatibility for each foot, which is faster than guessing from your machine’s manual alone.
