


You're More Than Just an Order
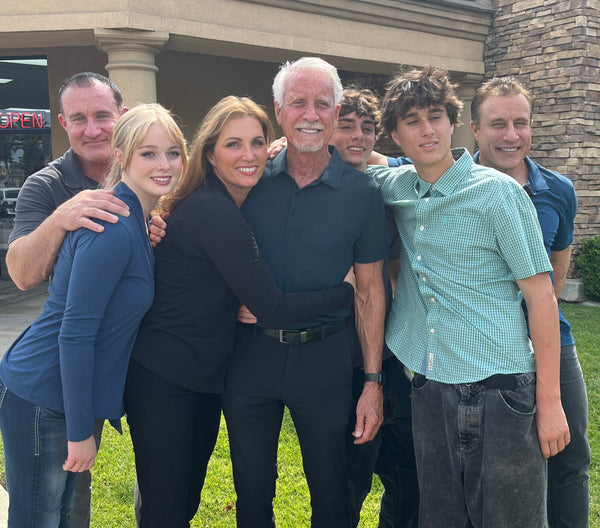
At SewingMachinesPlus.com, every customer matters. As a family-owned business, the Martin family has built our company around expert advice, outstanding service, and treating every customer like family. We're grateful for your business and are always here if you need help before or after your purchase.


