

Set your sewing needle and work surface at seated elbow height. The quick method: measure elbow to floor while sitting in your sewing chair, then add 5.5 to 7 inches. If your machine sits on top of the table rather than in a recessed insert, the table itself needs to sit lower than that number by the thickness of the machine base. Cutting tables follow a different rule entirely: standing height, slightly below elbow level.
TL;DR:
- A sewing surface height should be based on your seated elbow-to-floor measurement plus 5.5 to 7 inches; adjust if your machine is mounted on top or in a recessed insert.
- Most fixed sewing tables are between 28 and 30 inches high, suitable for average adults with top-mounted machines, but taller tables up to 34 inches serve taller users or recessed setups.
- For standing cutting work, tables should be 36 to 40 inches high, set slightly below elbow level when standing with arms bent at about 90 degrees.
- If your current table is not adjustable, adding risers or a recessed insert can fine-tune the height more cheaply than replacing furniture.
- A focus on adjustable setups, rather than fixed perfect heights, better accommodates body differences, machine mounting styles, and project changes, reducing discomfort over time.
Table of Contents
- How Do You Measure Your Ideal Sewing Table Height?
- What Are Common Sewing Table Heights, and Is 32 Inches Too Tall?
- Top-Mounted vs. Recessed Machines: Why Mounting Changes the Math
- How Tall Should a Cutting Table Be for Standing Work?
- Getting the Small Adjustments Right: Chair, Pedal, and Posture
- What Do OSHA and Recent Research Say About Sewing Ergonomics?
- Quick Checklist: Two-Minute Fixes vs. Longer-Term Upgrades
- Why Chasing a “Perfect” Fixed Height Misses the Point
- Find the Right Table Setup at Sewingmachinesplus
- Sources
- FAQ
How Do You Measure Your Ideal Sewing Table Height?
Sit in the chair you actually use for sewing, not a dining chair borrowed for the test. Keep your feet flat on the floor, shoulders relaxed, and arms hanging naturally at your sides. Have someone measure straight down from the point of your elbow to the floor.
That elbow-to-floor number is your starting point, but it’s not your final answer. According to OSHA’s sewing station guidance, add 5.5 to 7 inches to that measurement to estimate where your sewing surface, meaning the needle area, should sit. The allowance exists because your forearms rest slightly bent while sewing, not straight down at your sides, and that bend raises the effective working height. Sewing back the same formula.
Here’s how that plays out for three different people:
- A shorter sewist with a 24-inch elbow-to-floor measurement lands around 29.5 to 31 inches (75 to 79 cm) for the needle area.
- An average-height sewist at 27 inches elbow-to-floor should aim for roughly 32.5 to 34 inches (83 to 86 cm).
- A taller sewist measuring 30 inches elbow-to-floor needs closer to 35.5 to 37 inches (90 to 94 cm).
Pro Tip: If your machine sits on top of the table rather than recessed into it, subtract the height of the machine’s base from your target number. A typical domestic machine bed adds 3 to 4 inches, so a 33-inch target sewing surface might mean a 29 or 30-inch tabletop underneath it.
What Are Common Sewing Table Heights, and Is 32 Inches Too Tall?
Most fixed tables on the market cluster in a fairly narrow band, and matching your body to that band matters more than chasing a single “correct” number. Common ranges break down like this:
- Around 27 inches: Works for shorter sewists using machines with a low bed profile, or for kids’ and youth sewing stations.
- 28 to 30 inches: The most common fixed height for store-bought sewing tables and cabinets, suited to average-height adults using top-mounted machines.
- 30 to 34 inches: Fits taller users, or anyone whose machine sits in a recessed insert that lowers the effective needle height.
- 36 to 40 inches: Standing-height cutting tables, covered in more detail below.
So, is 32 inches too tall for a sewing table? It depends entirely on your elbow-to-floor measurement and how your machine mounts. For someone with a 27-inch elbow-to-floor reading using a recessed insert, 32 inches at the tabletop could actually sit right in the target zone. For a shorter sewist with a top-mounted machine, that same 32 inches would push the needle area several inches above elbow height, forcing the shoulders up and the wrists into an awkward extension.
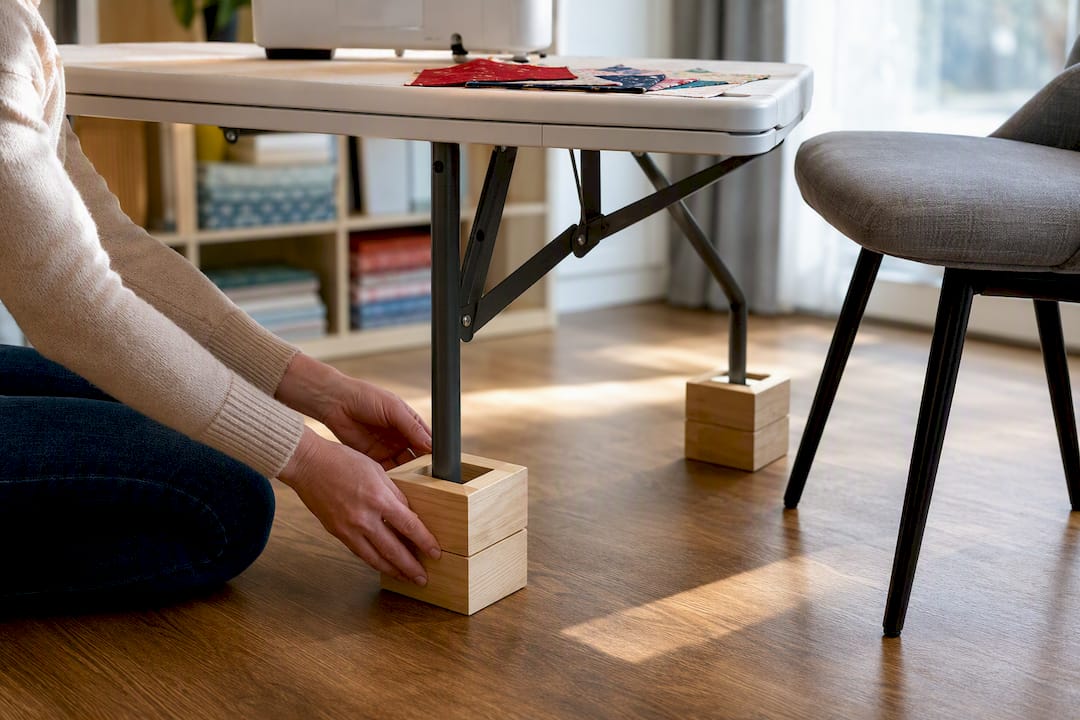
Before buying anything, mock up your setup with books or risers under a folding table, sit down, and sew a few test seams. Check that your knees clear the frame and that you’re not straining to reach the foot pedal.
Top-Mounted vs. Recessed Machines: Why Mounting Changes the Math
A top-mounted machine sits directly on the tabletop, so the needle plate ends up several inches above the table’s own surface. A recessed setup, whether a dedicated cabinet or a drop-in insert, lowers the machine so its bed sits flush with (or close to) the tabletop, putting the needle much closer to actual table height.
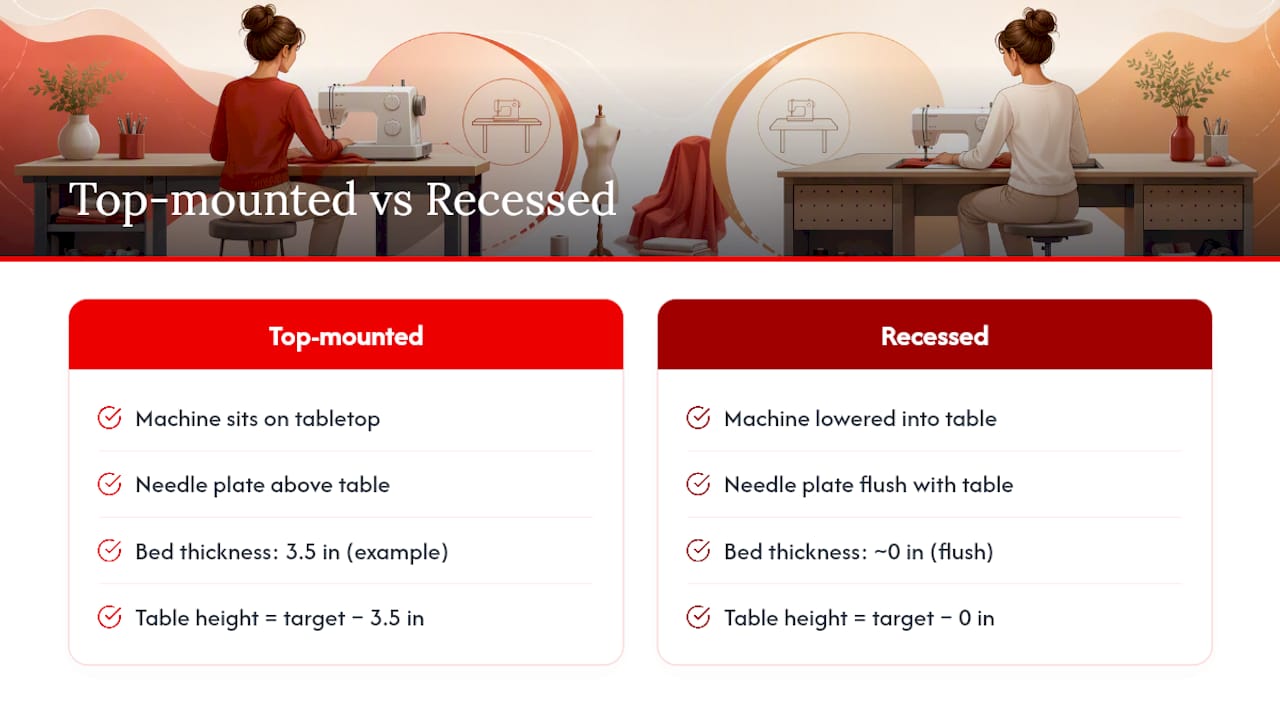
This distinction is the single most common source of confusion when people try to apply the elbow-height rule. If you measure your target needle height at 33 inches and assume that’s your tabletop height too, but your machine is top-mounted with a 3.5-inch base, your table is now nearly 3.5 inches too tall.
To get it right, measure your specific machine’s bed thickness from the tabletop to the needle plate, then subtract that from your target sewing surface height to find the correct table height underneath.
Pro Tip: If your existing table is close but not quite right, don’t replace it. Add leg risers to gain height, or ask about swapping in an adjustable table base or recessed insert. Both are far cheaper fixes than buying a new table outright.
How Tall Should a Cutting Table Be for Standing Work?
Cutting fabric standing up calls for a different formula than sewing seated. Bend your elbows to roughly 90 degrees while standing naturally, then set the cutting surface slightly below that point. The slight drop gives your arms leverage to push a rotary cutter or shears through fabric without hunching or reaching up.
OSHA’s guidance puts typical cutting-table ranges around 36 to 40 inches for many adults, though the standing elbow method remains the most accurate way to find your own number:
- 36 to 37 inches suits shorter cutters and detailed piecework where precision matters more than reach.
- 38 to 40 inches works well for quilters cutting large yardage, where a taller surface reduces back strain during long cutting sessions.
- Tables with a slight tilt or an adjustable incline help with visibility on large layouts and reduce the need to lean forward over the fabric.
Getting the Small Adjustments Right: Chair, Pedal, and Posture
Even a perfectly measured table won’t help if the rest of your setup fights against it. Run through this checklist once your table height is set:
- Feet sit flat on the floor with knees clearing the table frame comfortably.
- Shoulders stay relaxed, not hunched up toward your ears.
- Wrists stay straight and level with the needle plate, not angled up or down.
- The foot pedal sits within easy reach without sliding your chair forward.
- Your seat cushion, if you use one, gets factored into your original elbow-to-floor measurement.
An ergonomic sewing chair with adjustable height and lumbar support does more for your setup than most people expect, since it lets you fine-tune your seated position rather than being locked into whatever a standard chair gives you. The Sitpack seating ergonomics guide covers adjustable seating in more depth if you’re shopping for a new chair.
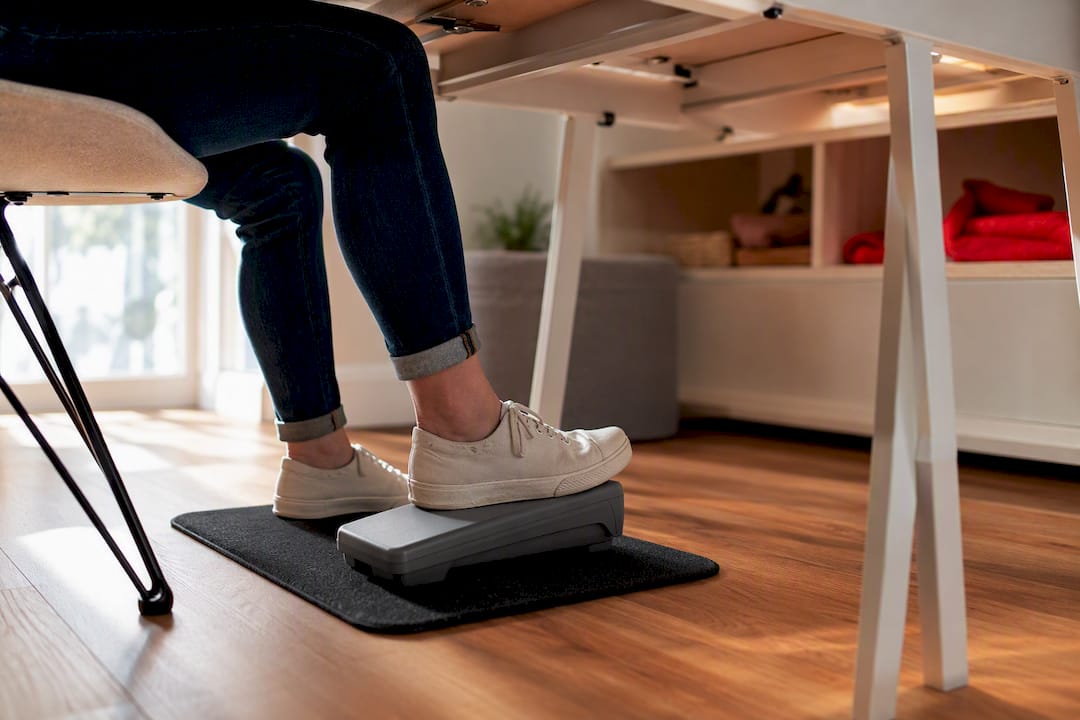
Pro Tip: Pedal placement gets overlooked constantly. A non-slip mat or a dedicated pedal station keeps the pedal from sliding away mid-project, which prevents you from scooting your chair forward and quietly changing your whole trunk angle.
What Do OSHA and Recent Research Say About Sewing Ergonomics?
OSHA’s sewing station design guidance and sewing.org’s sewing room recommendations both anchor on the same elbow-height principle covered above, and both stress that table tilt and clearance matter alongside raw height. A 2023 ergonomics study on sewing machine operators found that trunk forward flexion, needle distance, and table inclination each significantly affect low-back compressive force, with needle distance and table tilt both showing statistically significant effects on spinal load.
That research backs up something Sewingmachinesplus hears constantly from customers: height alone doesn’t solve every posture problem, but it’s the foundation everything else builds on. Author Chris, who covers sewing machine setup and maintenance topics including tension troubleshooting, recommends starting with an adjustable table or cabinet insert if your household has more than one sewist using the same station.
Quick Checklist: Two-Minute Fixes vs. Longer-Term Upgrades
Start with the fast checks, then move to bigger fixes if they don’t solve the problem.
Do these now (two minutes):
- Measure elbow-to-floor and calculate your target sewing surface height.
- Mock up your current setup with books or risers and test-sew a few seams.
- Adjust your chair height and add a pedal mat if the pedal has been sliding.
Plan these next (a weekend project or a purchase):
- Add a recessed insert or cabinet if you’re currently top-mounting a machine.
- Invest in an adjustable table base if multiple people share the station.
- Upgrade to an ergonomic chair with better lumbar support and height range.
If none of these close the gap, or if you’re dealing with ongoing pain rather than occasional discomfort, a custom cabinet fitting or a conversation with an occupational health provider is worth the time.
Why Chasing a “Perfect” Fixed Height Misses the Point
The conventional advice on sewing table height treats it like a single magic number you’re supposed to hit, and that framing sets people up to fail. Bodies vary too much, machines mount differently, and the same sewist needs a different setup for piecing than for free-motion quilting. The elbow-height rule is a starting formula, not a finish line.
What the research actually supports is a relationship between height, tilt, and needle distance, not height in isolation. The 2023 study on trunk flexion makes that explicit: table inclination and needle distance moved the needle on low-back load almost as much as height did. Most guides skip that nuance and hand readers a single number, which explains why so many home sewists measure carefully, buy a table at exactly that height, and still end up sore after long sessions.
My take: measure first, but plan for adjustability from the start rather than treating a fixed-height table as the end goal. A table you can shift by an inch or two as projects, chairs, or sewists change will outperform a perfectly calculated fixed height nine times out of ten.
— Chris
Find the Right Table Setup at Sewingmachinesplus
Getting your measurements right is only half the job. The other half is finding furniture and machines that actually let you act on those numbers, which is where a lot of home sewing setups stall out. Sewingmachinesplus carries machines that come with tables built for real ergonomic flexibility, including options like the Reliable 5400SW with its included high-quality table, so you’re not stuck retrofitting a mismatched piece of furniture around a machine that doesn’t fit it.
If you’re weighing a recessed insert against a top-mounted setup, or trying to figure out whether your current table can be adjusted rather than replaced, a quick consultation with the Sewingmachinesplus team can save you from guessing. Browse the full sewing and quilting machine selection to compare models with table options built in, and take advantage of free shipping on orders over $49 while you’re setting up your station.
Sources
- eTools: Sewing and Related Procedures - Sewing Station Design | Occupational Safety and Health Administration
- Sewing
- Musculoskeletal Disorders and Ergonomics Risk Assessment among Sewing Machine Operators and Tailors (2023)
FAQ
What is a good height for a sewing table?
A good sewing table height puts your needle area at seated elbow height, typically your elbow-to-floor measurement plus 5.5 to 7 inches. For most adults using top-mounted machines, that lands the tabletop itself around 28 to 30 inches.
How tall is a sewing cutting table?
Cutting tables typically run 36 to 40 inches for standing work, based on OSHA’s guidance, though the most accurate approach is bending your elbows to about 90 degrees while standing and setting the surface slightly below that point.
Is 32 inches too tall for a sewing table?
It depends on your elbow-to-floor measurement and how your machine mounts. A 32-inch table can be perfect for a taller sewist or a recessed insert setup, but too tall for a shorter sewist using a top-mounted machine.
What is the minimum size for a sewing table?
There’s no single minimum, since the right size depends on the machine’s footprint and how much fabric you need to support during a project. Most functional sewing tables measure at least 24 by 40 inches to give the fabric room to lie flat without pulling as it feeds through the machine.
Recommended
- SewErgo Score Ergonomic Sewing Operator Chair (200SE)
- Reliable 5400SW Single Needle 18in. Long Arm Walking Foot Sewing Machine. Includes High Quaility Table (Assembled) & SewQuiet 6000SM Servomotor!
- Juki DDL-8700 High-speed Single Needle Straight Lockstitch Industrial Sewing Machine with Table and Servo Motor (Table Comes Assembled)
